A loooot happened the other weekend. I was visiting my parents and decided to bring some stuff to work on with my dad. At this point I’ve gotten the head glued together… Probably one of the most expensive pieces for this whole thing. I needed 19” wide for this thing and 10” tall, since I couldn’t get oak wider than 12”, and my local selection didn’t have anything thicker than 3/4 for me, I needed almost 4’x12” of this stuff at about 10 bucks a foot. Oof. Got it home, cut it into 3 10” pieces and glued and clamped them for a while, cut them to size after the glue to make the edges nice and smooth and had a nice little couple of planks here. I waited to glue them into one piece until I got to my parents’ where we decided to dowel it as well, since we had the jig out for the door.
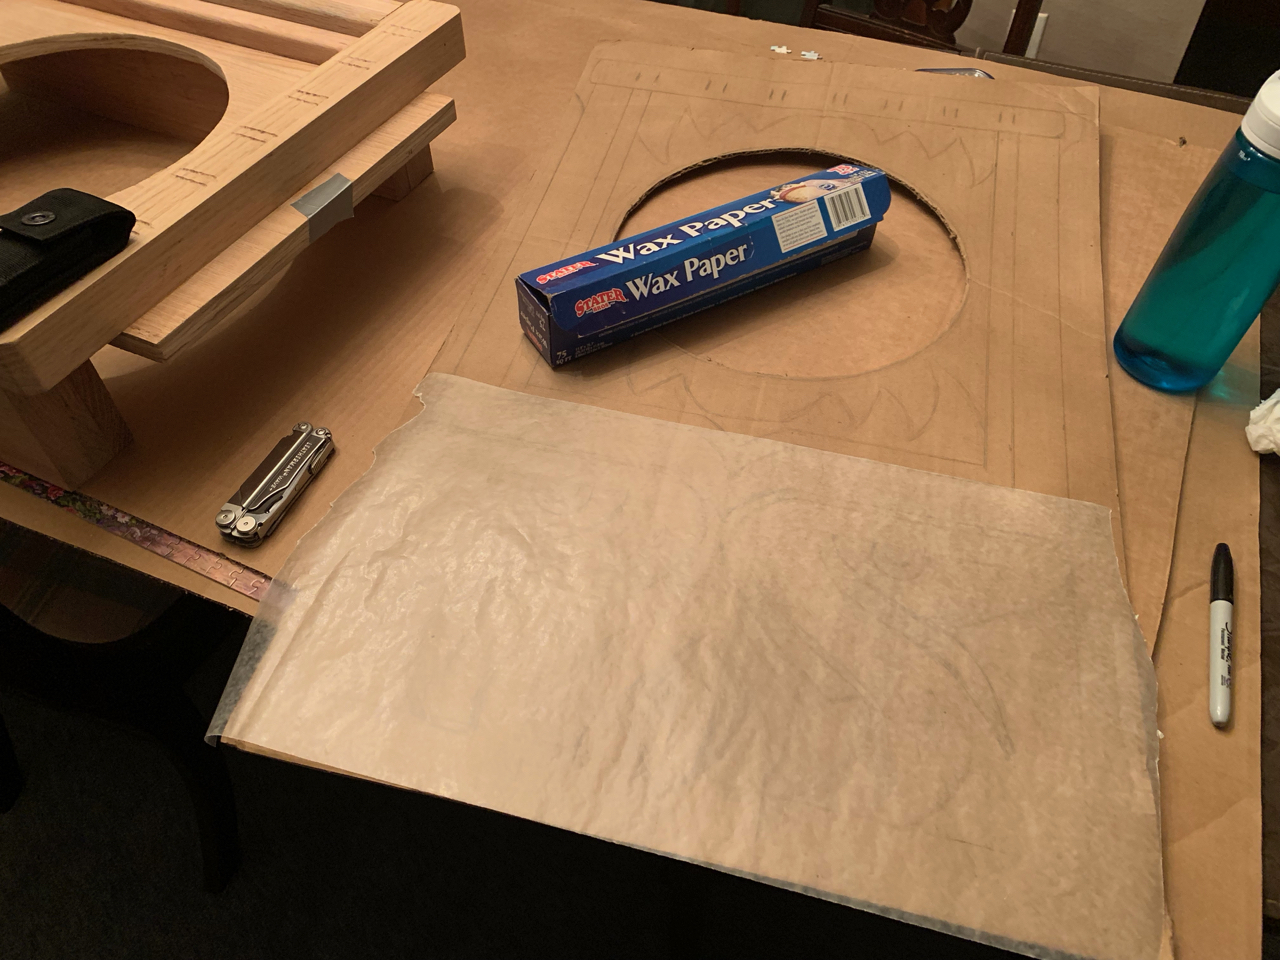
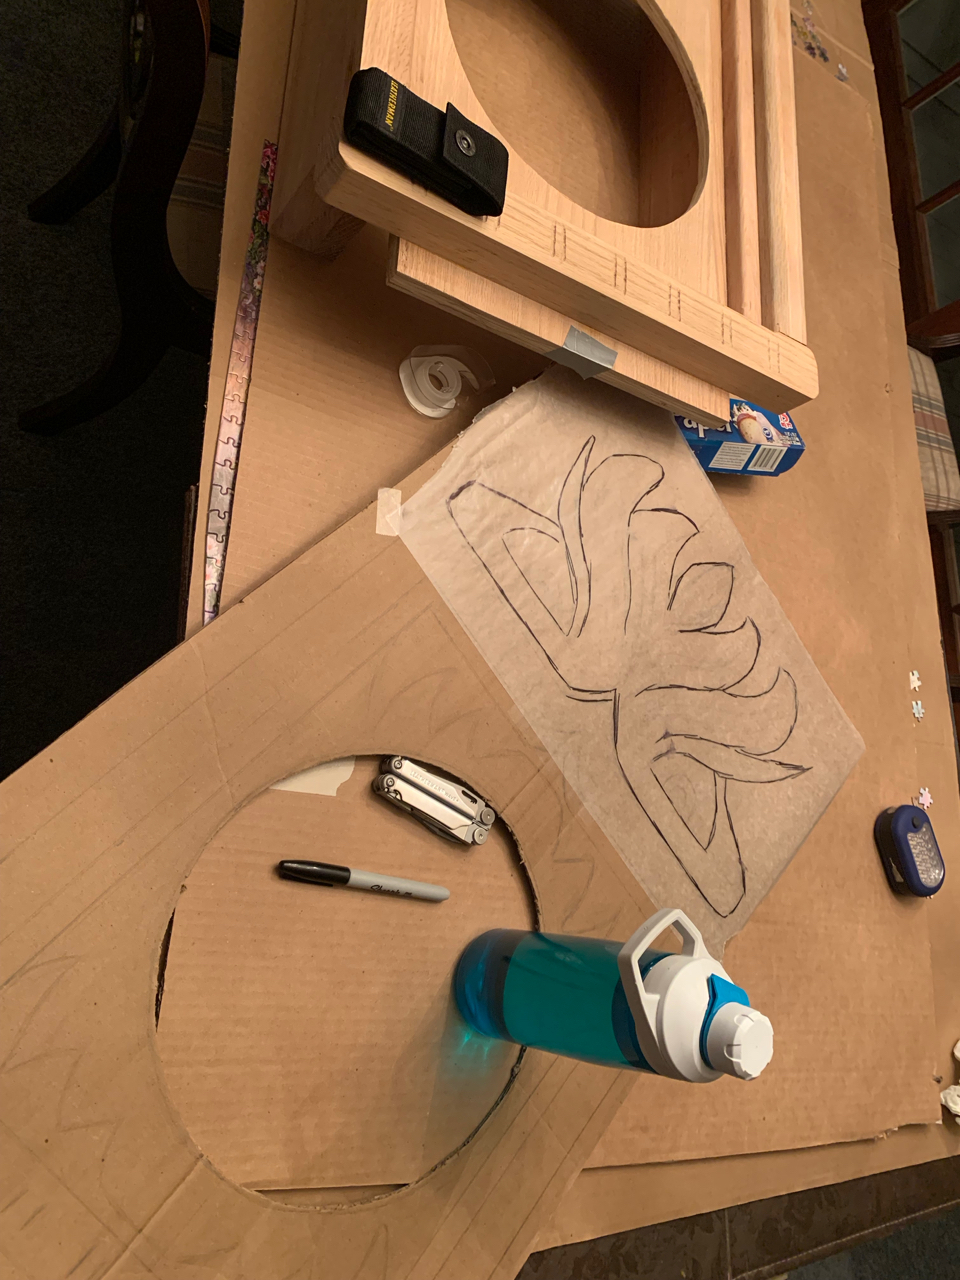
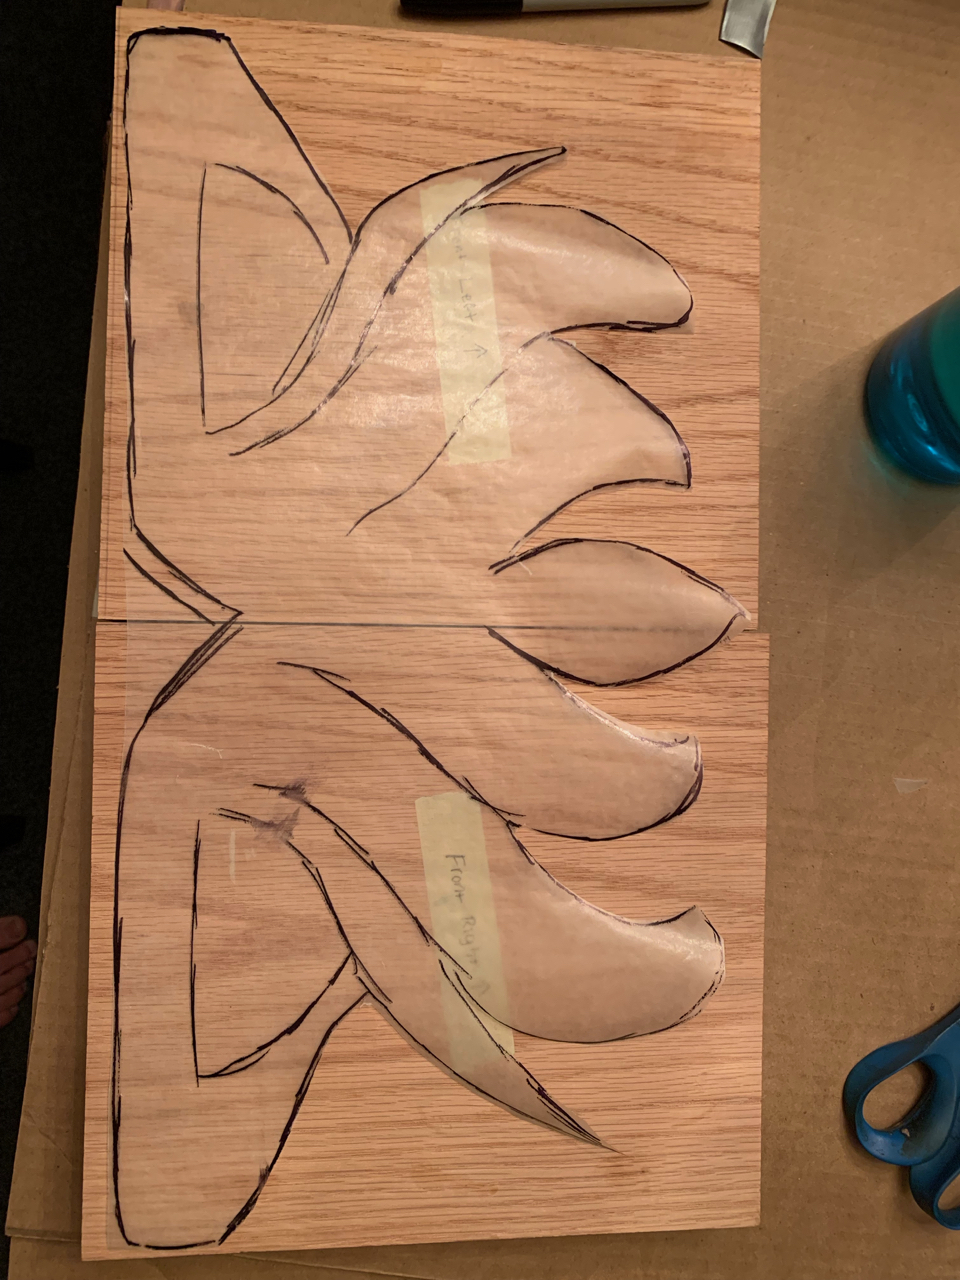
First thing’s first, when I got there I took my cardboard ‘practice’ piece that I’d used way back in order to get the measurements and dimensions right. Took that and some wax cooking paper and a sharpie and made a stencil/transfer for getting the shape onto the wood. I wish I’d taken a liiiiiittle more time on this because I think a couple dimensions came up a little bit short… But that’s OK, they’re not that noticeable, and the size of the details within those cuts can make them even less noticeable without inspecting it with a ruler.
Dad wanted to clean up a couple of the more noticeable gaps in the trim, turns out it was a great idea, and the trim looks a lot better now.
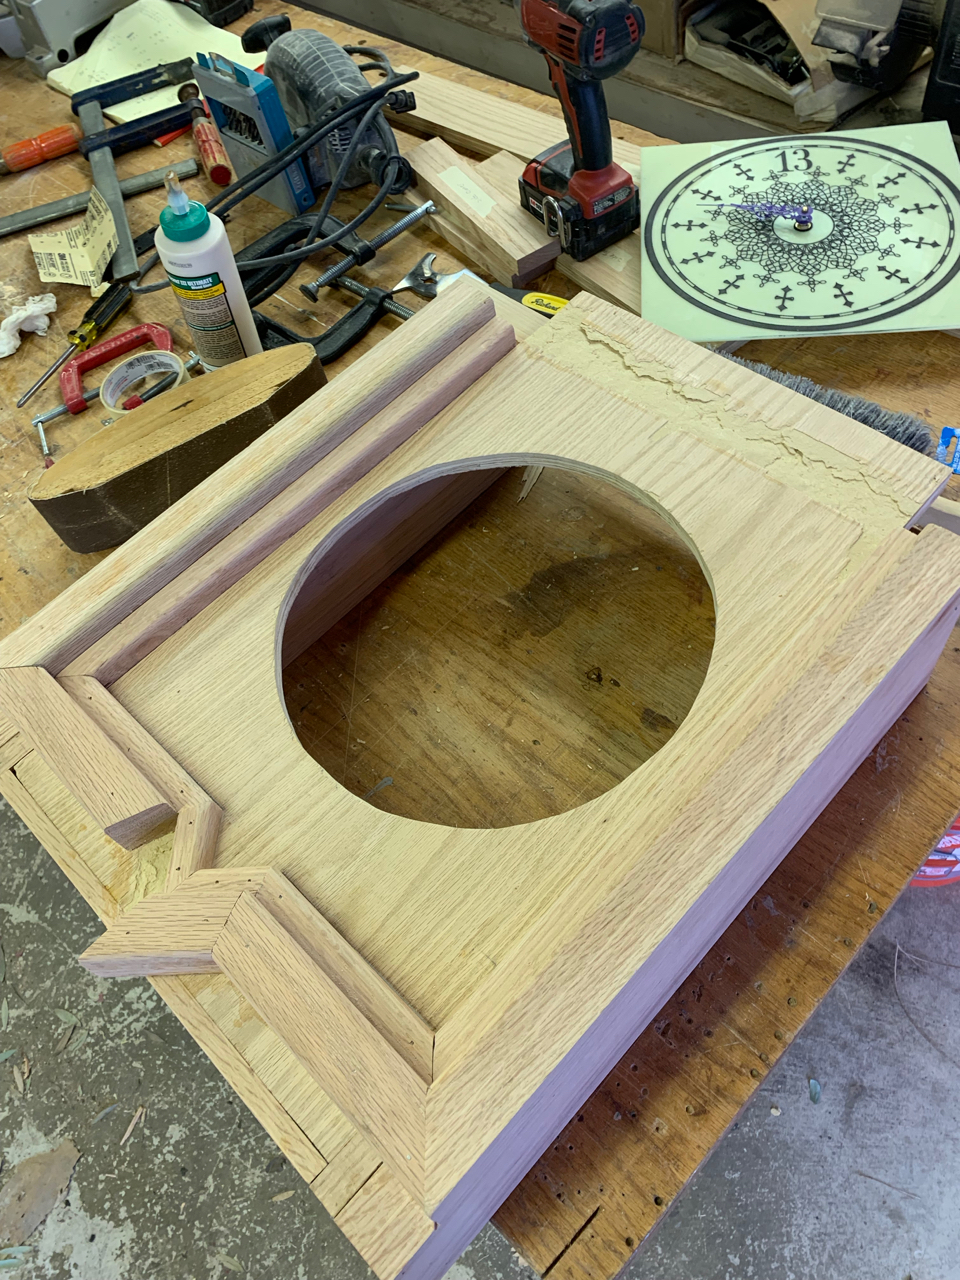
Another idea of his was to perfect the hole that the dial shows through with a stencil that he created. When we put the stencil in it looked like it couldn’t have been right because removing that much wood just couldn’t have been right. Turns out it was perfect, and the dial hole looks absolutely amazing now.

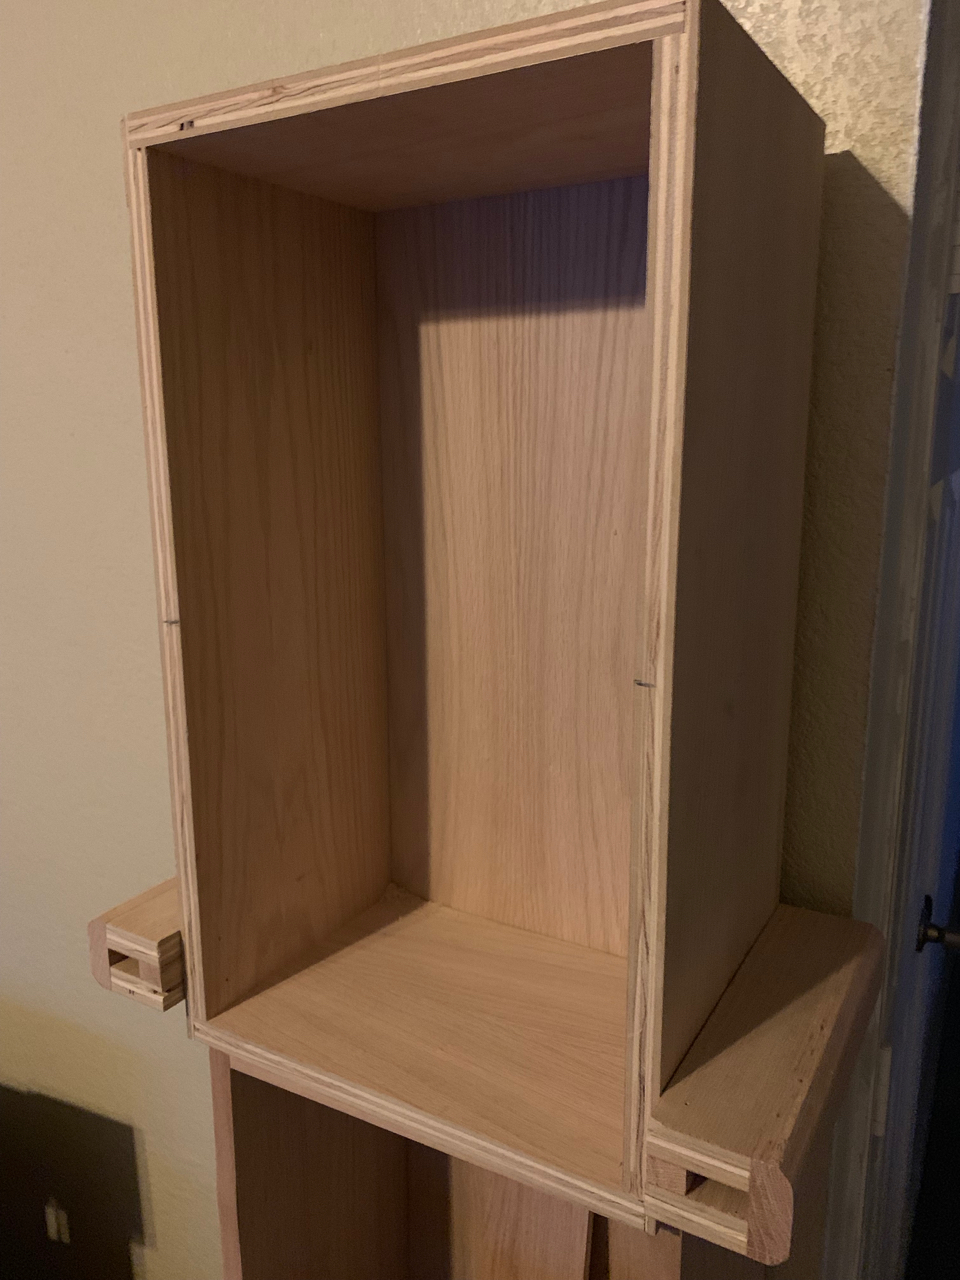
Once I got home I put together the pieces I’d cut for the ‘shelf’ across the bottom of the top box. Thinking pretty 3D about this one since it sticks out PAST the front of the top box in order to line up with the facade of the shelf across the front. In hindsight… maaaaaaybe I’d have cut a 45 into the front, so I could 45 the sides and have them line up with no ‘side’ grain showing… That’s going to stick out a bit. Maybe I could fix that later, but… I can’t take that facade off again, it ripped the hell out of the plywood last time. If I cut a 45 out of that one it’d have to be in-place… And I’d have to redo the wood for the sides. So, mark that as a future wish-list ‘if i get bored enough’ upgrade once the entire clock is finished.
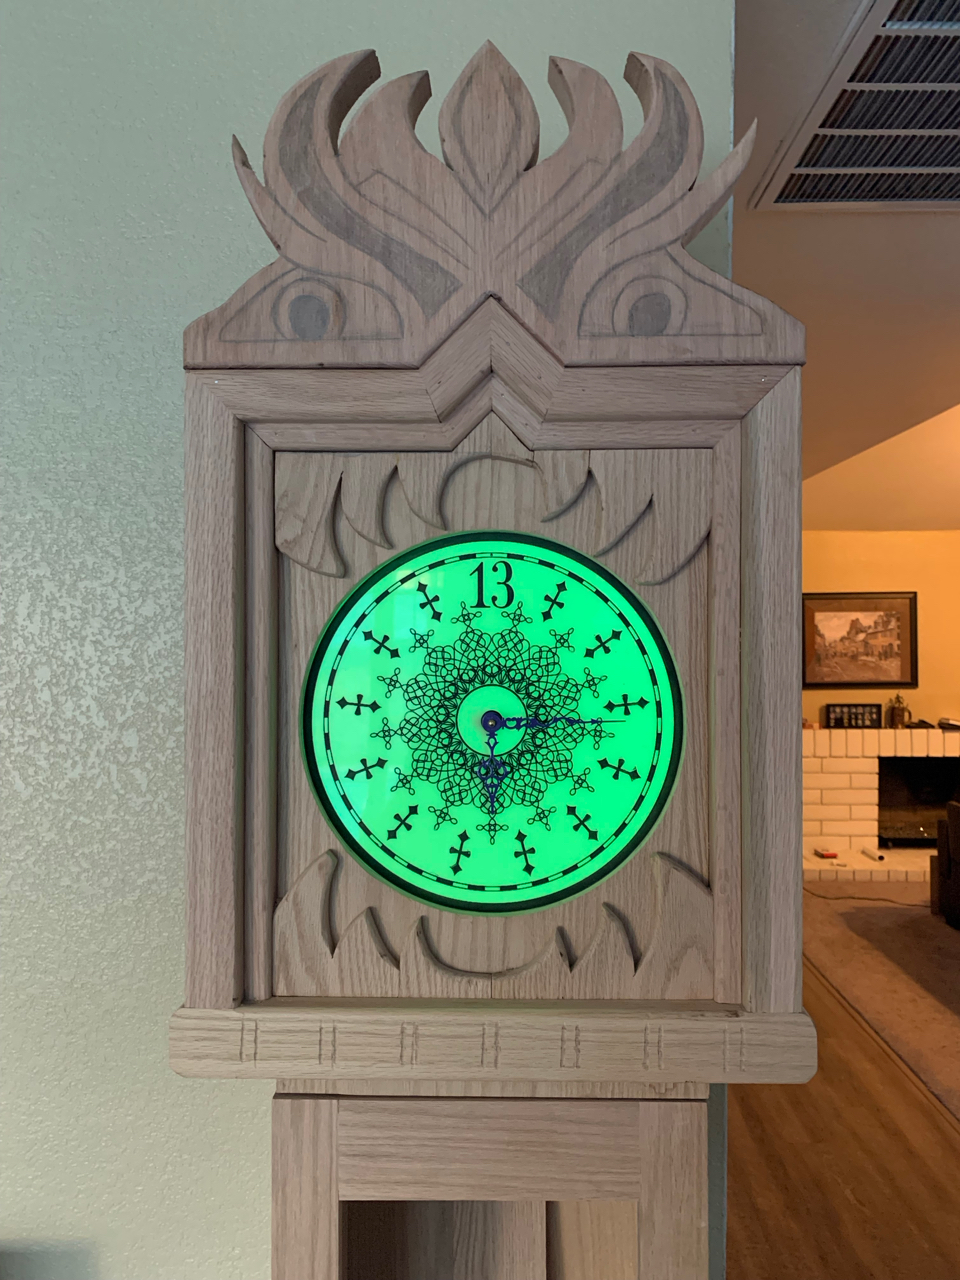
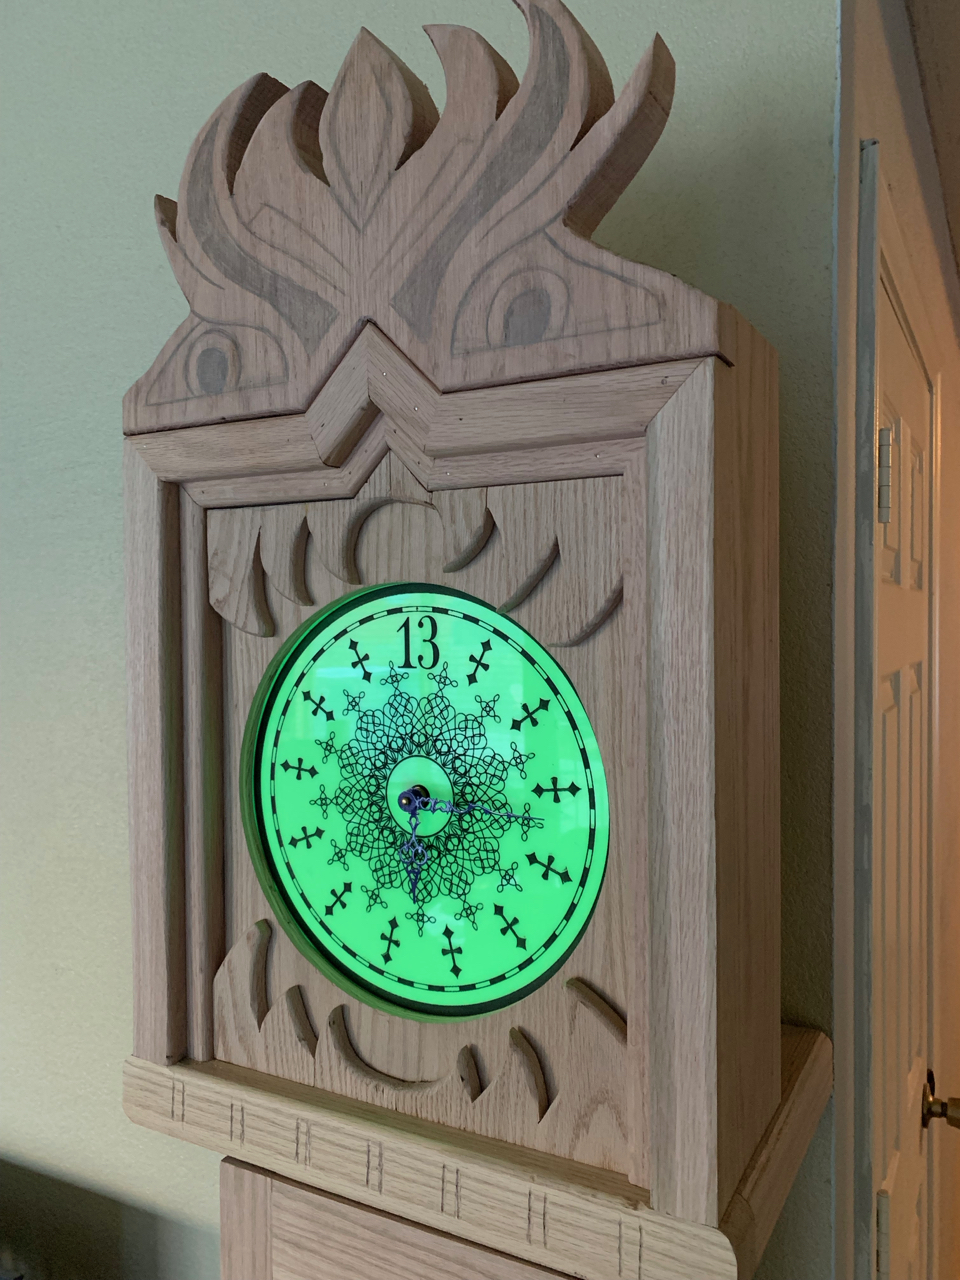
We cut the outline out of the eyes, it looks fantastic. I just swish the stencil were done a tiny bit better… The eyes are cut a little bit low so you can see the 90 degree angle across the top of the box. It’s only about 1/4” of the corner that’s visible, I’ll probably just fix that with sanding. You can’t tell at all from the front, it’s just obvious to me for being taller than the clock… Once I add feet maybe it’ll bug me less. Also once I’m done sanding it so that it lines up it’ll bug me less. Also I can’t wait to find some good moulding to put across the bottom of the ‘shelf’ facade. I think that’ll really finish the top off nicely.
I don’t have any closeups or in-progress shots of the door being put together. We drilled some dowel holes in with a jig, glued it, hammered ‘em in and sanded it down. While I was out my dad took the liberty of cutting an 1/8” recess into the door and some matching shims so I can put some glass into it when all is done. Also he donated some beautiful hinges that they were going to use at one point that they had extras of and fit the style of the clock perfectly. Originally I was struggling with what to do about the door, I was considering holding it on with magnets (recess and glue into the door and the box) but … that could be dangerous. Hidden hinges? Expensive, but, that hasn’t stopped me in this project yet, so those were definitely an option, but these just look perfect, I’m gonna use ‘em.
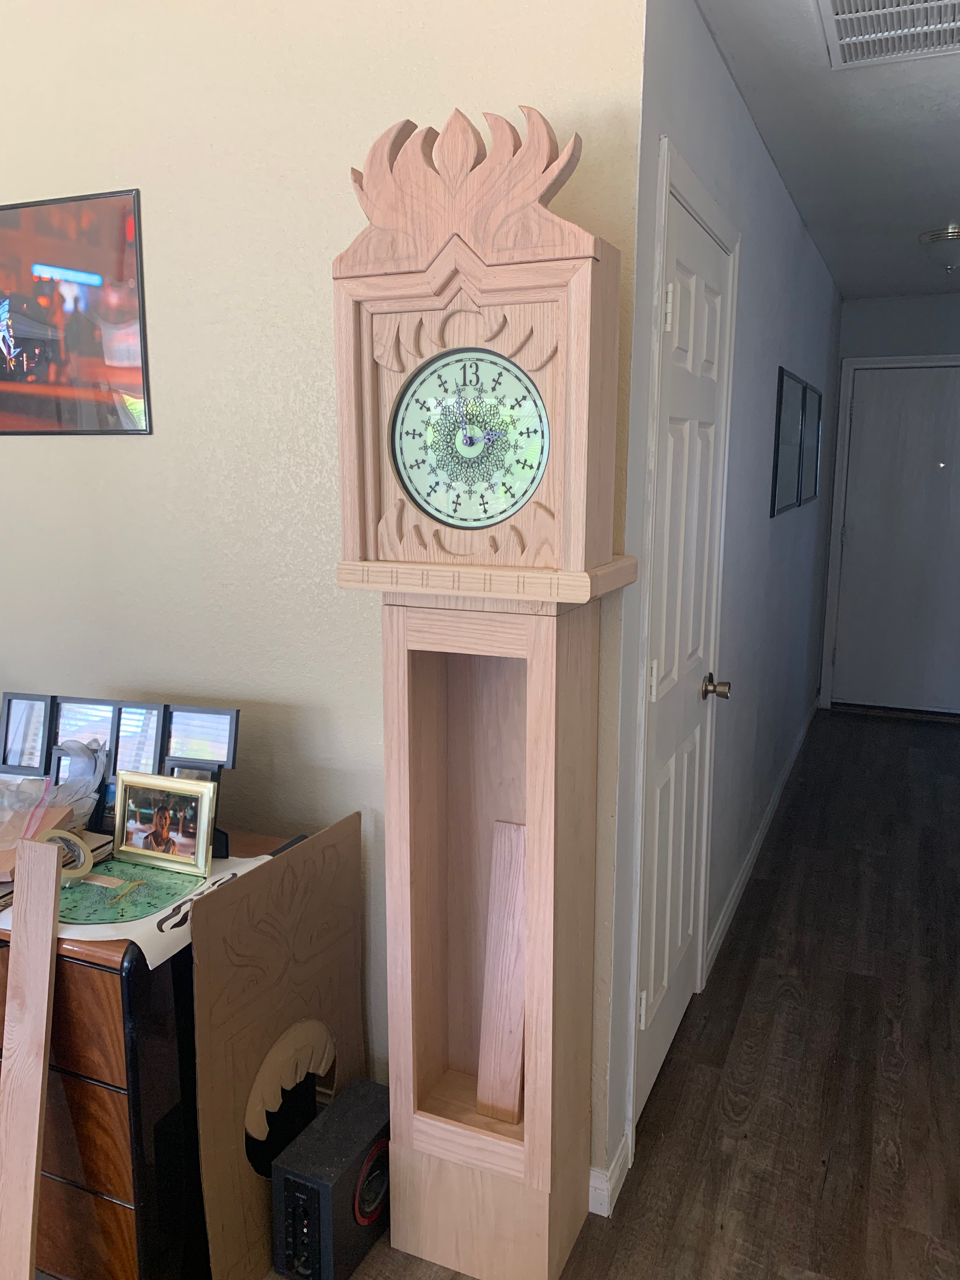
Here’s what the full thing looks like put together so far…