It’s been a while since I’d last posted, but I think I’ve made some small but very satisfying progress.
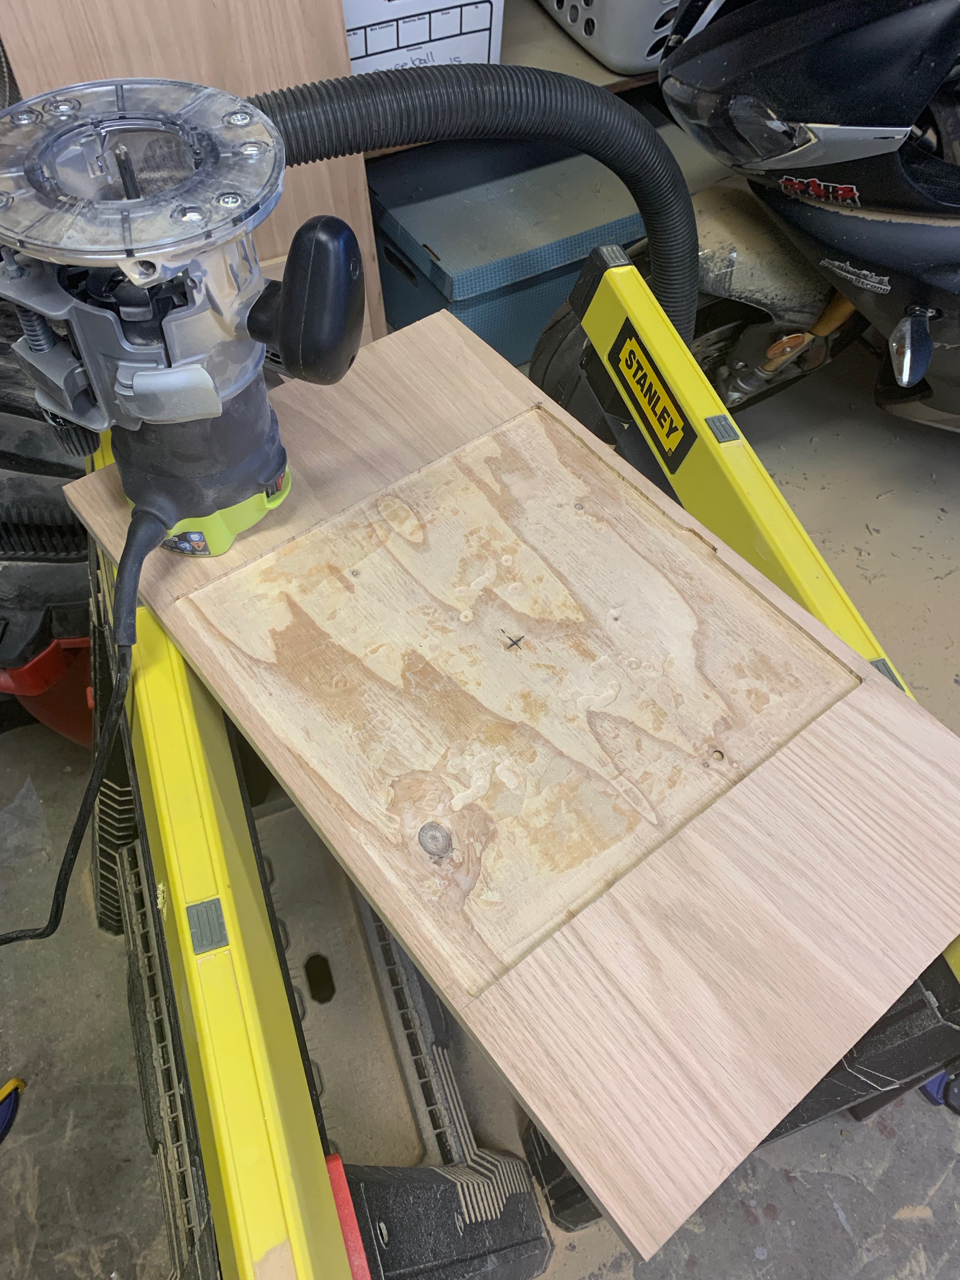
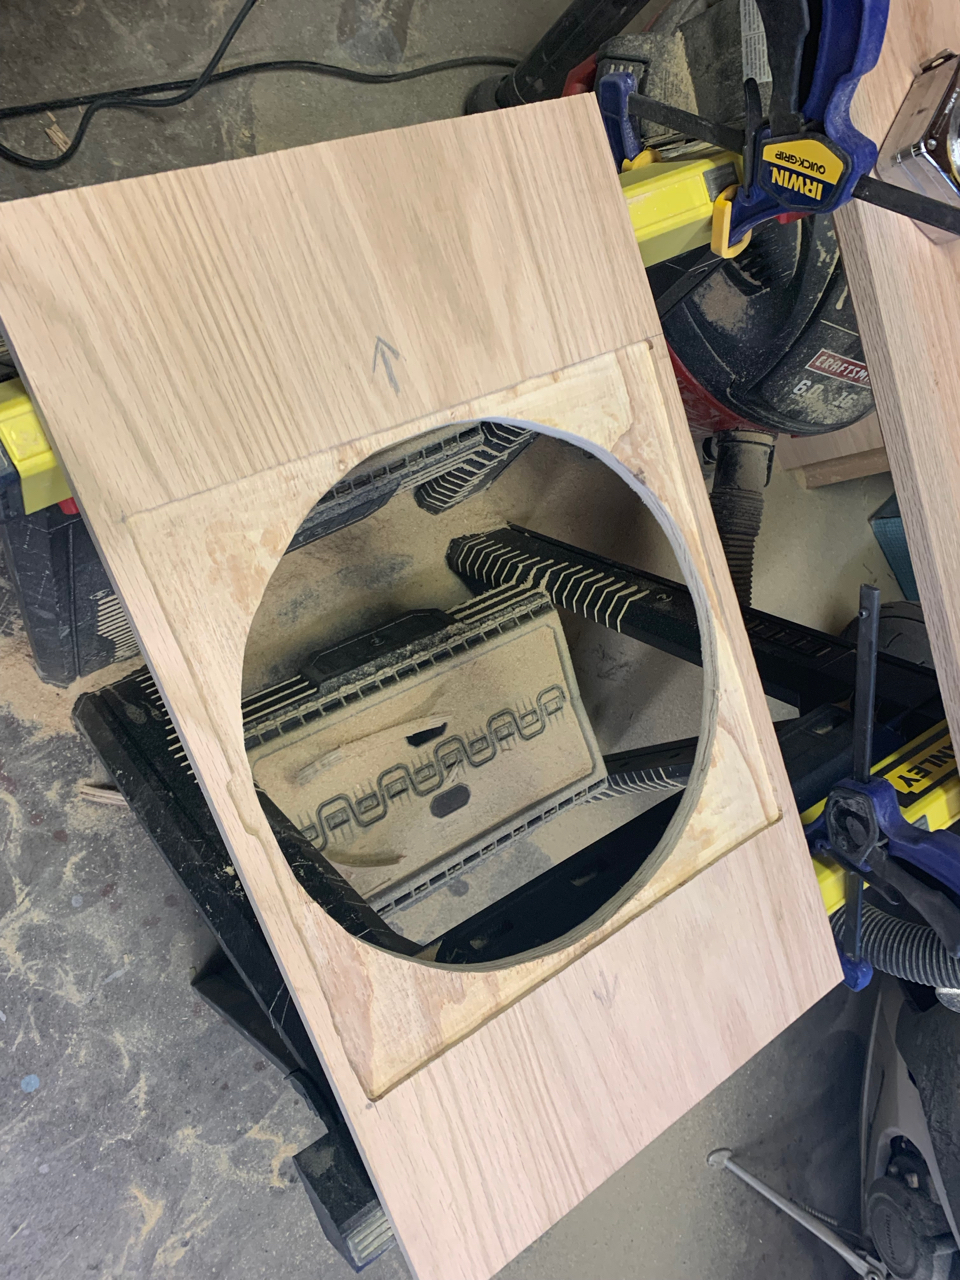
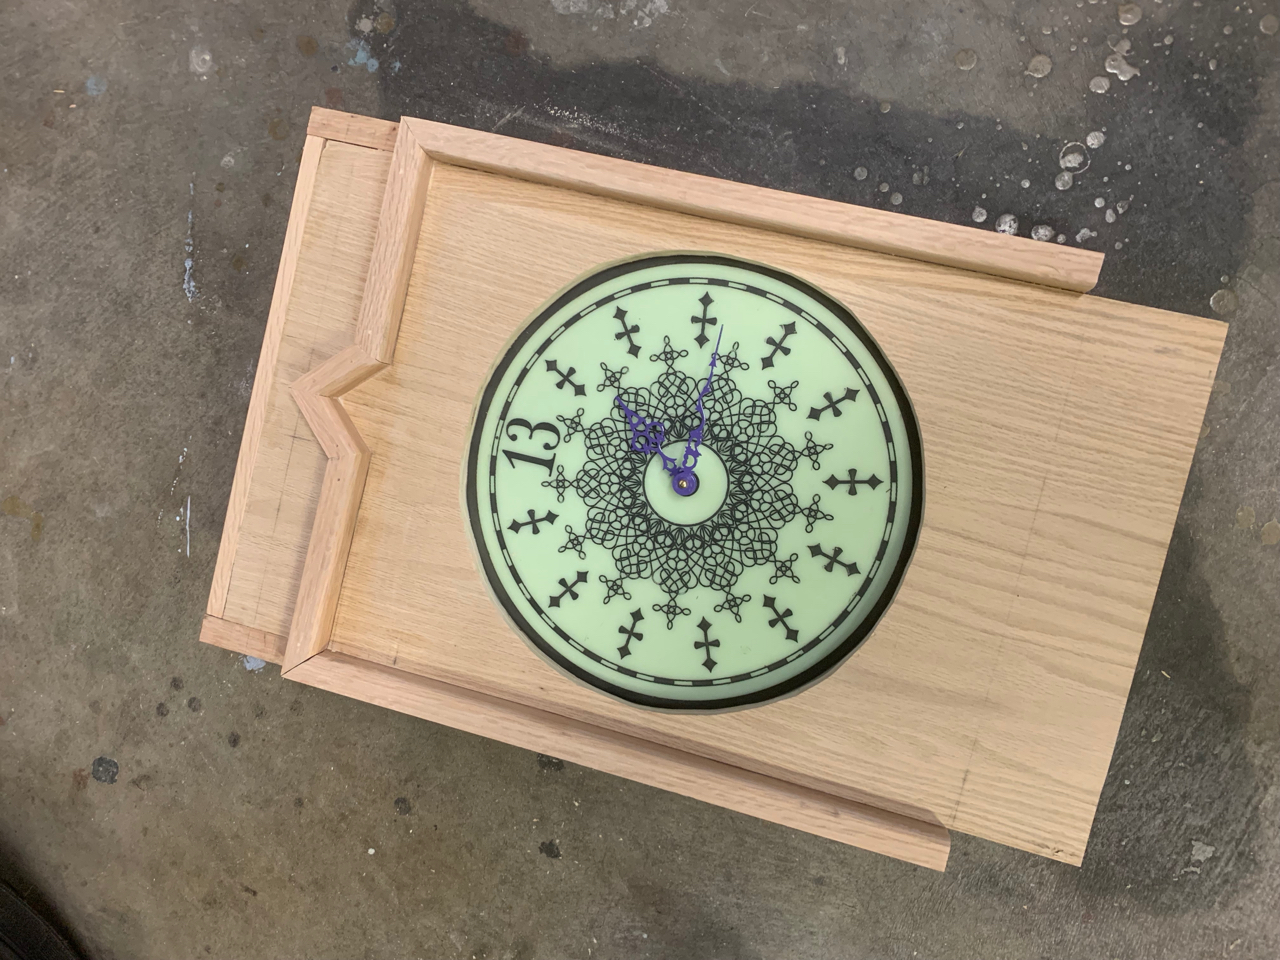
First thing — I created a front cover for the top box. 13” wide by 22.5” tall. The only problem I’m having with this is that apparently it’s really hard to find red oak solids larger than 12” wide… So I used some of the left over plywood from the structural build. MOST of this piece’s edges will be covered, the only problem is you can kinda see the layering in the circle around the dial… I plan on staining this though, probably relatively dark, and I figure the shadowed parts I’ll stain even darker, so I think that may fix that particular issue.
In the back of this piece I routed a 1/8” deep square before cutting my circle, so the clock dial will set into that, held in by a half dozen mirror clips… (once I cut those down to fit, they’ve got a 1/8” gap to accommodate a mirror.)
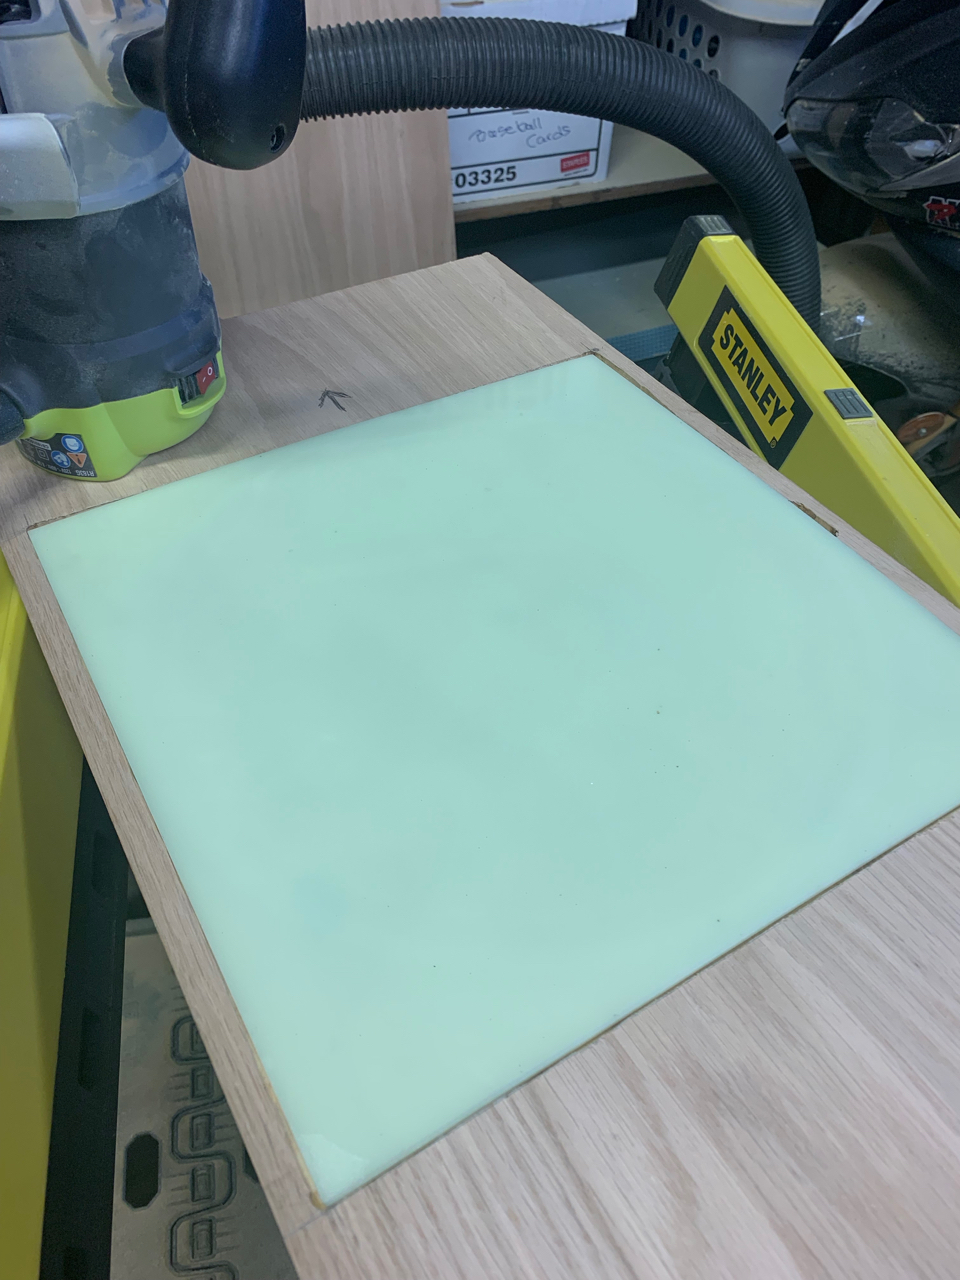
Routed a 12” square into the back of this piece…
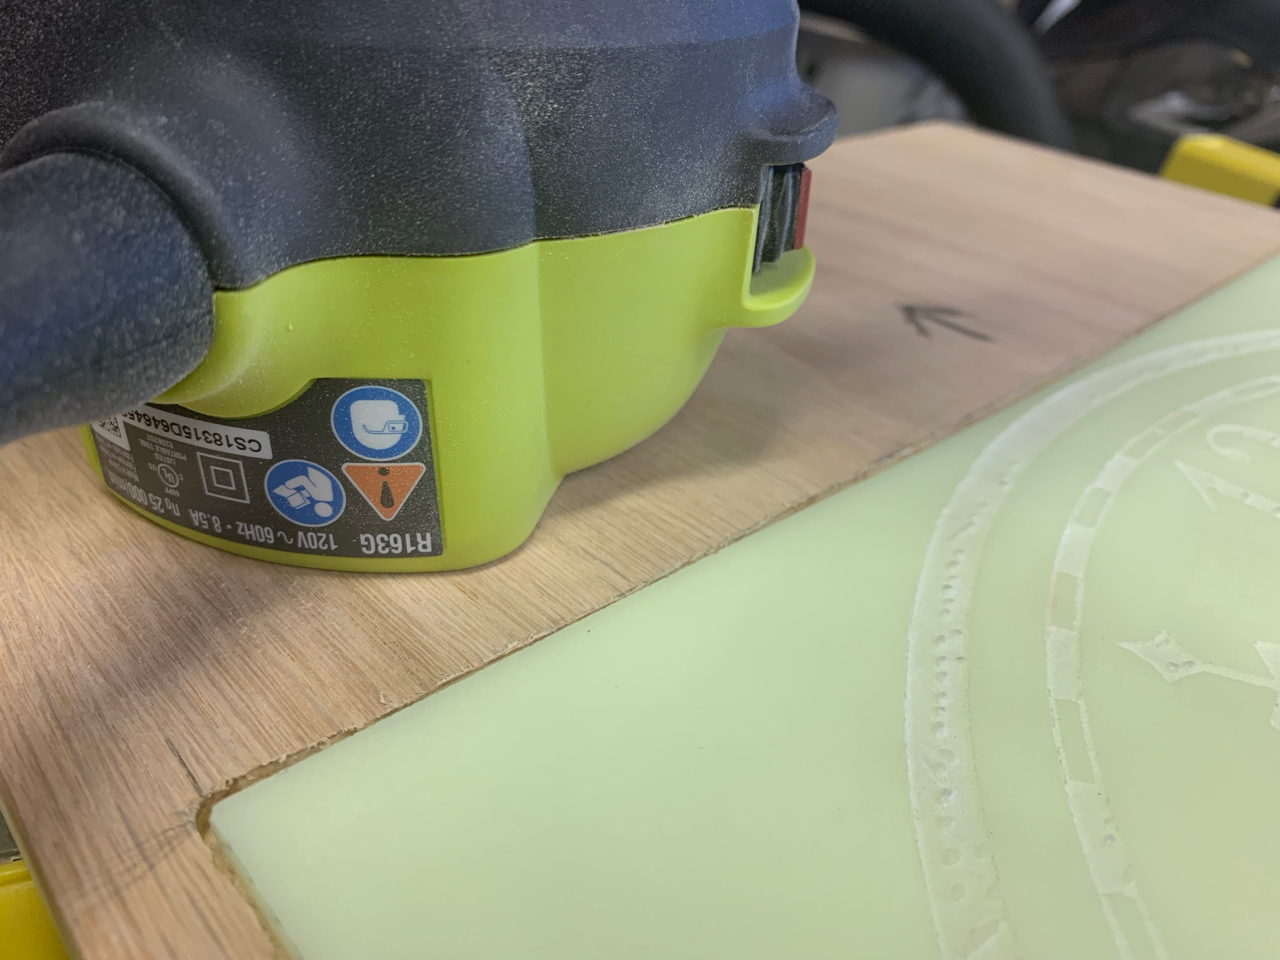
Acrylic fits perfectly within, added a little notch on the side to help take the clock dials out if I ever want to (actually I messed up with the router, but it worked out great.)
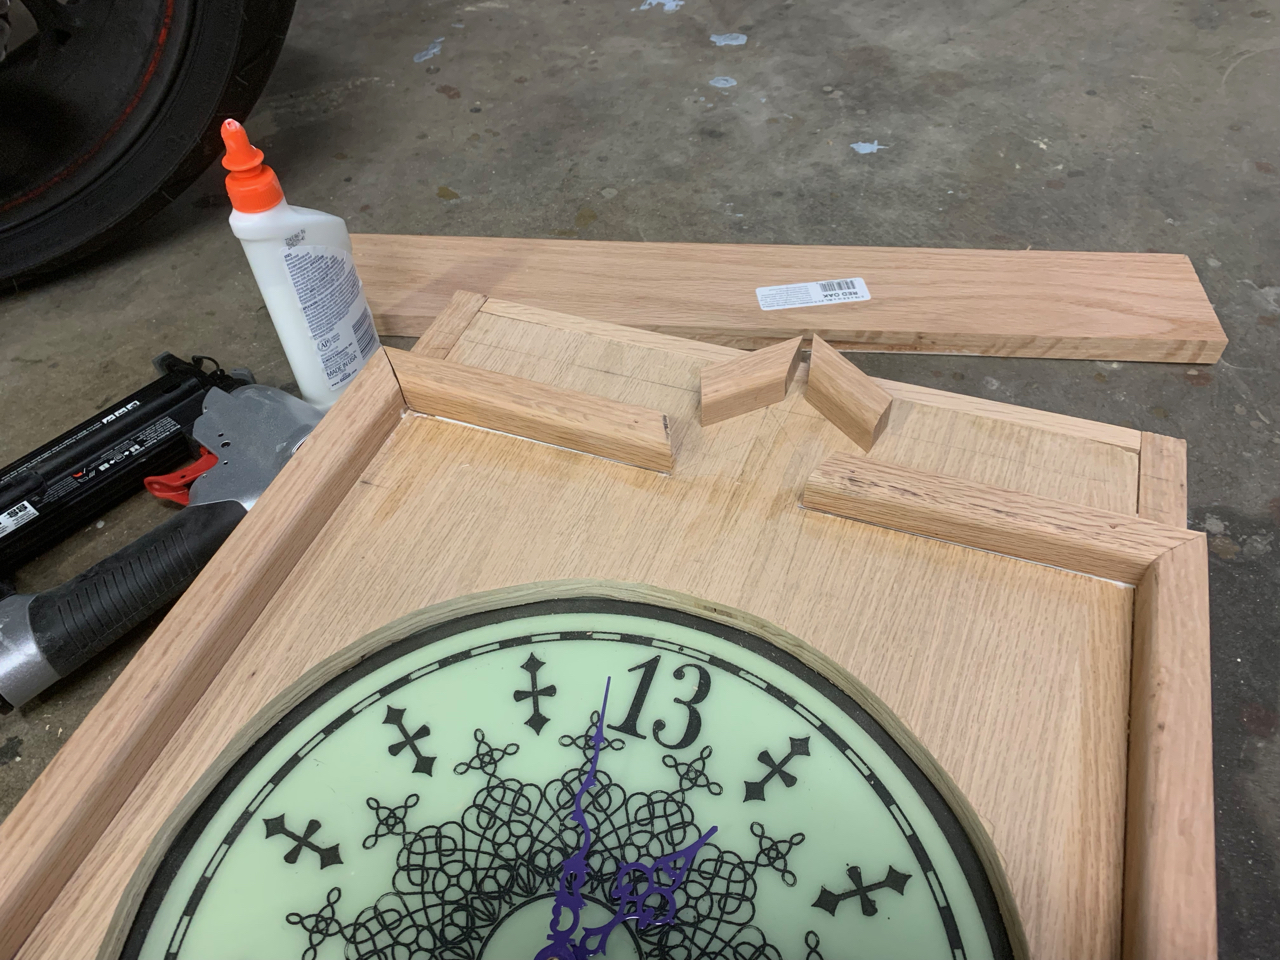
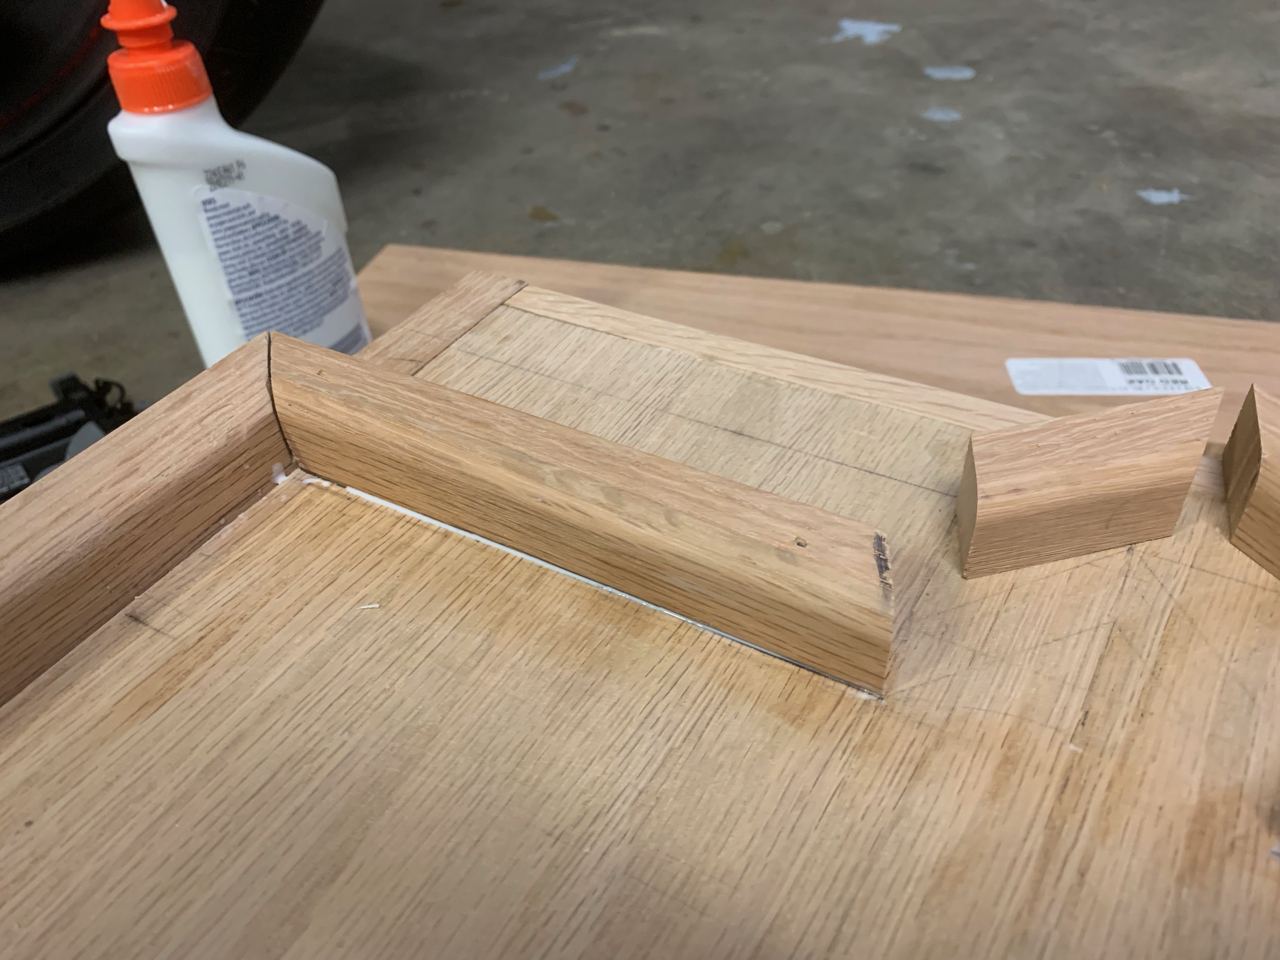
In order to hold the cover on, and this is the basic structure that’s going to hold this whole thing together, I built a bit of a frame to go around the sides/top of the top box and pin nailed those in. On the sides it got a little trickier because the sides are supposed to stick out 3/4” for the border. There’s an inner border that goes around the top and sides of the dial and sticks out 3/4”. On the sides, I’d incorporated the side borders into my side structure. The border goes down to 3” from the bottom of the front piece, and about the same from the top. So I cut a little notch out of the bottom and the top, with a 45 degree top cut, which I continued into the top section of the border which will form the upper ‘lip’ that the teeth will go beneath.
Here’s the edges that will be sticking out past the front piece…
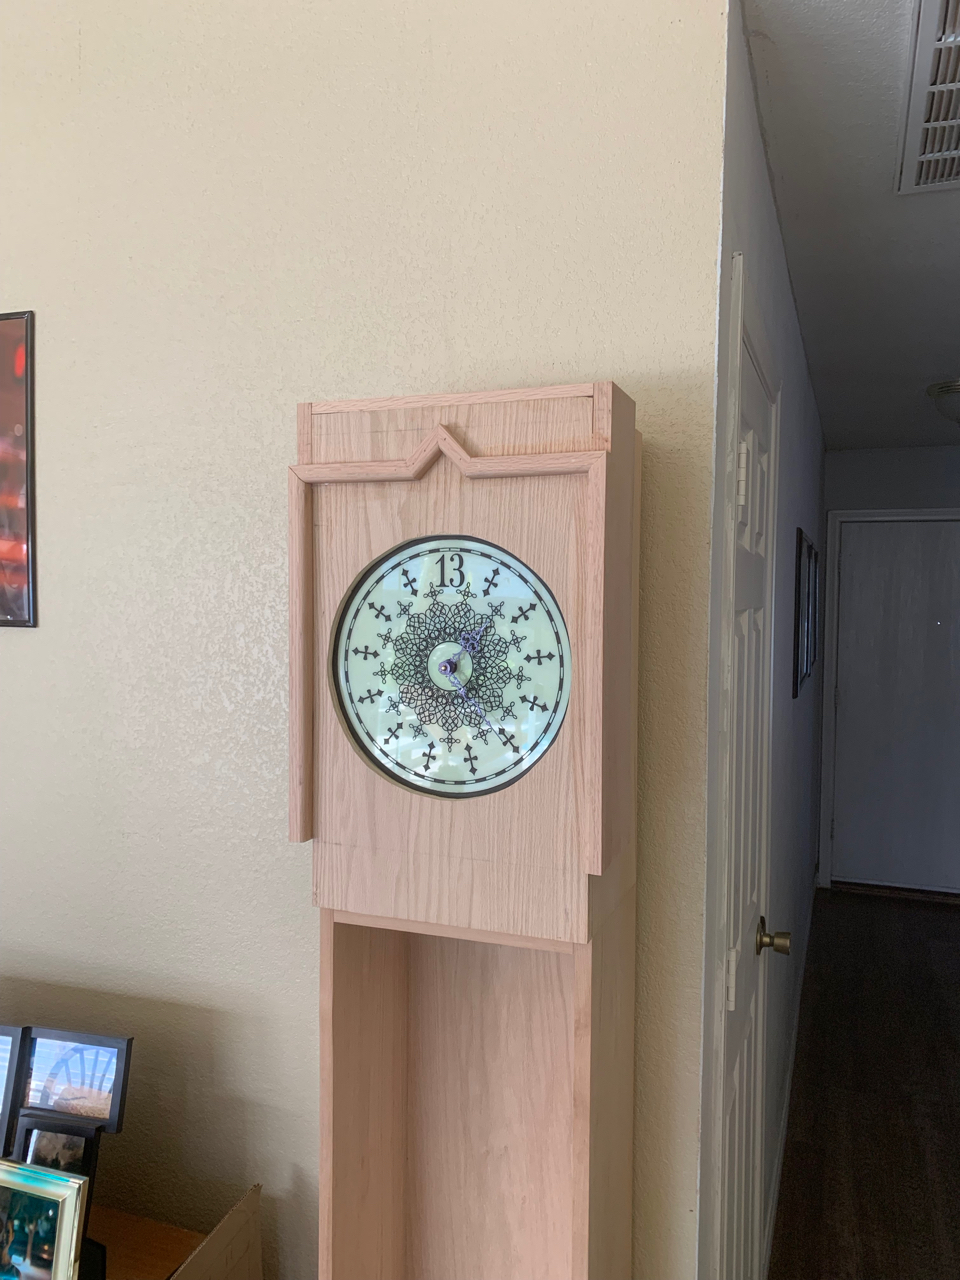
I hung it up like this for a week before drawing the path for the upper/inner “lip” across the top. The next weekend I added those pieces and made a huge difference:
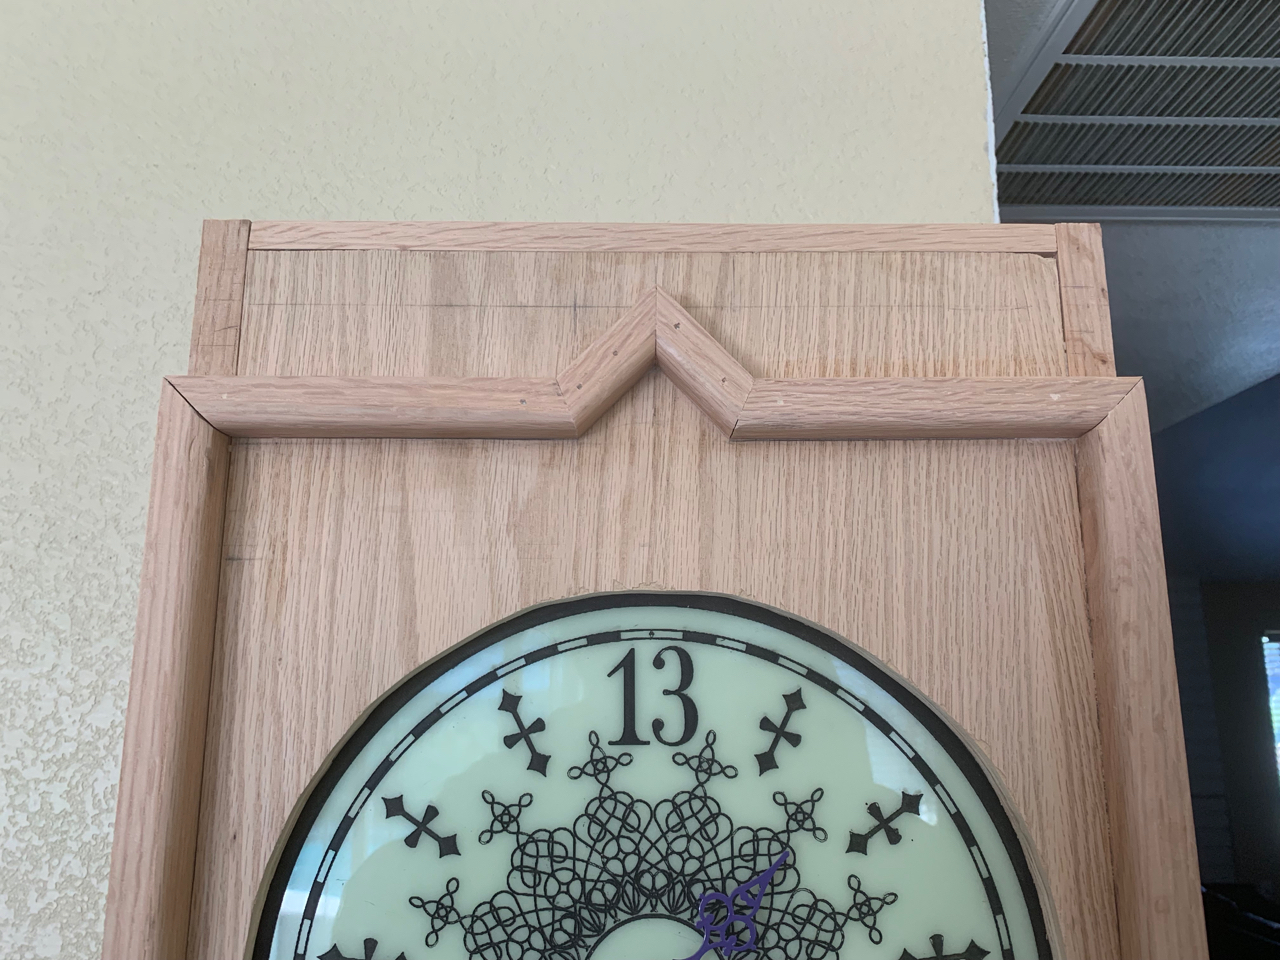
And this is how it’s sitting, decorating my dining room right now!
I’m loving the way this is looking. This weekend I’m going to try and get the bottom border piece, and the outer borders cut and nailed in. It’s going to be a little bit trickier since I couldn’t get 1.5” thick red oak solids, so I’ll have to clap a couple together… but that should be OK. The bottom border I’m really looking forward to because like a puzzle, there’s a few different things that build out from this piece.
More updates (hopefully!) soon!