- 11/11/2018 - In the beginning...
- 11/15/2018 - Measuring Up
- 11/17/2018 - Starting with Cardboard...
- 11/30/2018 - Structural Boxes...
- 02/16/2019 - Starting the Top Box
- 03/18/2019 - Teeth!
- 04/08/2019 - Eyes!
- 12/29/2019 - Pendulum...
- 01/12/2020 - Adding some Base.
- 02/16/2020 - A question of stain...
- 02/23/2020 - Stained.
- 02/25/2020 - For Whom the Bells Toll...
At this point I had a few things going at once. I’ve got my measurements for everything, and want to build out the body to give myself something to build against. My dad, being a carpenter by trade, and amazing with wood-making, offered to help with this. We went over the measurements that we’re looking for together and decided on final measurements for the three boxes that are going to make up the body of this clock. We’re going to have the top box, the body box, and the base.
Also, we went with Oak for this, as this seems to be the popular choice for grandfather clocks. It wasn’t cheap, but I want this thing to live forever in my home. I want the body of this thing to hold to the standards of any store-bought grandfather clock. The audio, the dial, that may change out from time to time but the audio will be invisible and the dials will be made to a high standard as well, and just be swappable parts. So we’re not pulling any punches with the materials on this one.
Box measurements (w/h/d):
Top box: 13x22x9
Center box: 13x41x9
Base: 13x9x9
I’m still deciding where all of the guts are going to be arranged in this thing, but I’ve got a pretty good idea so far.
Without further ado, the photos!
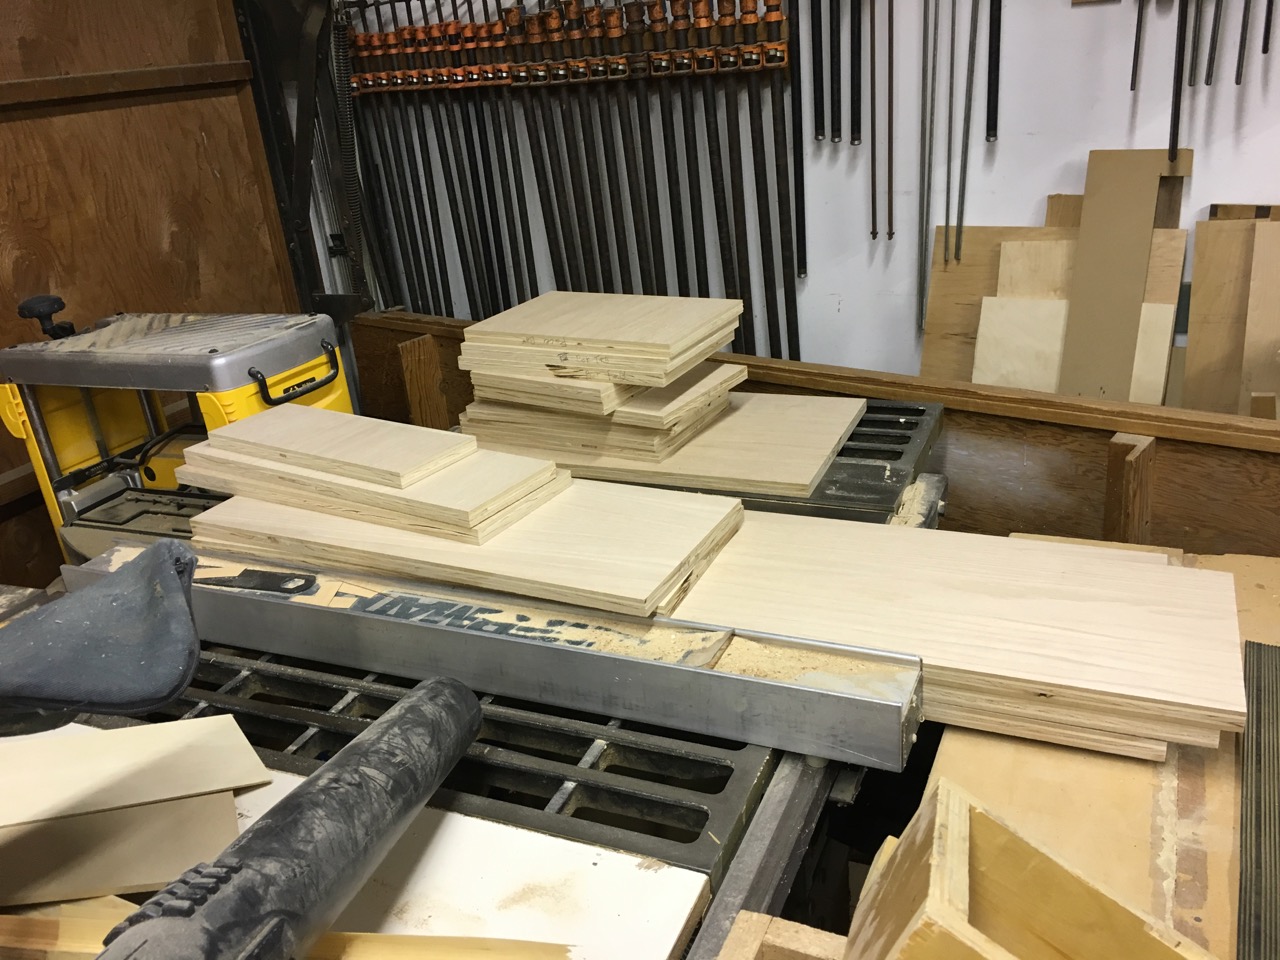
Wood’s been cut:
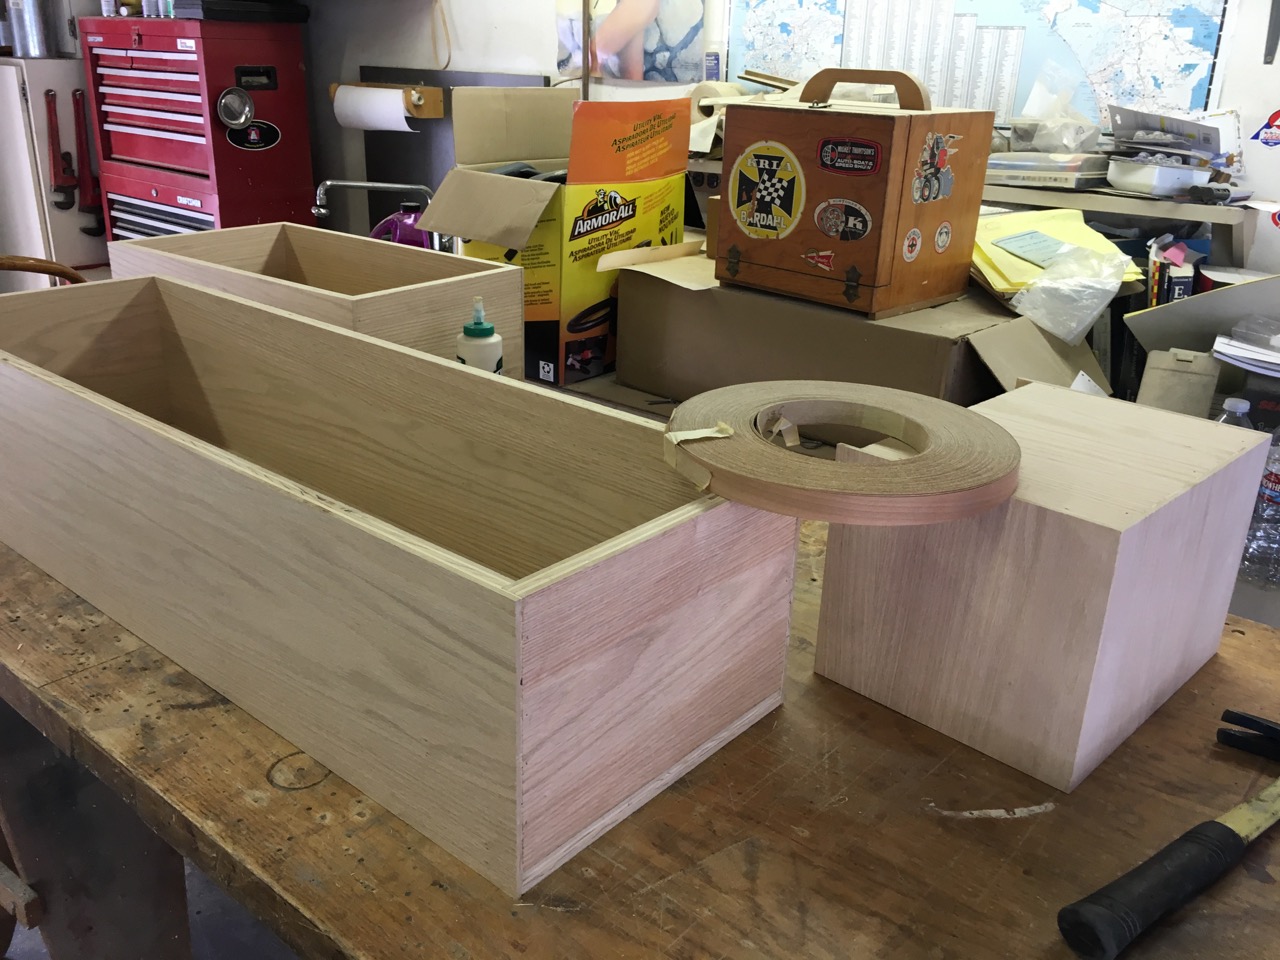
Boxes have been assembled:
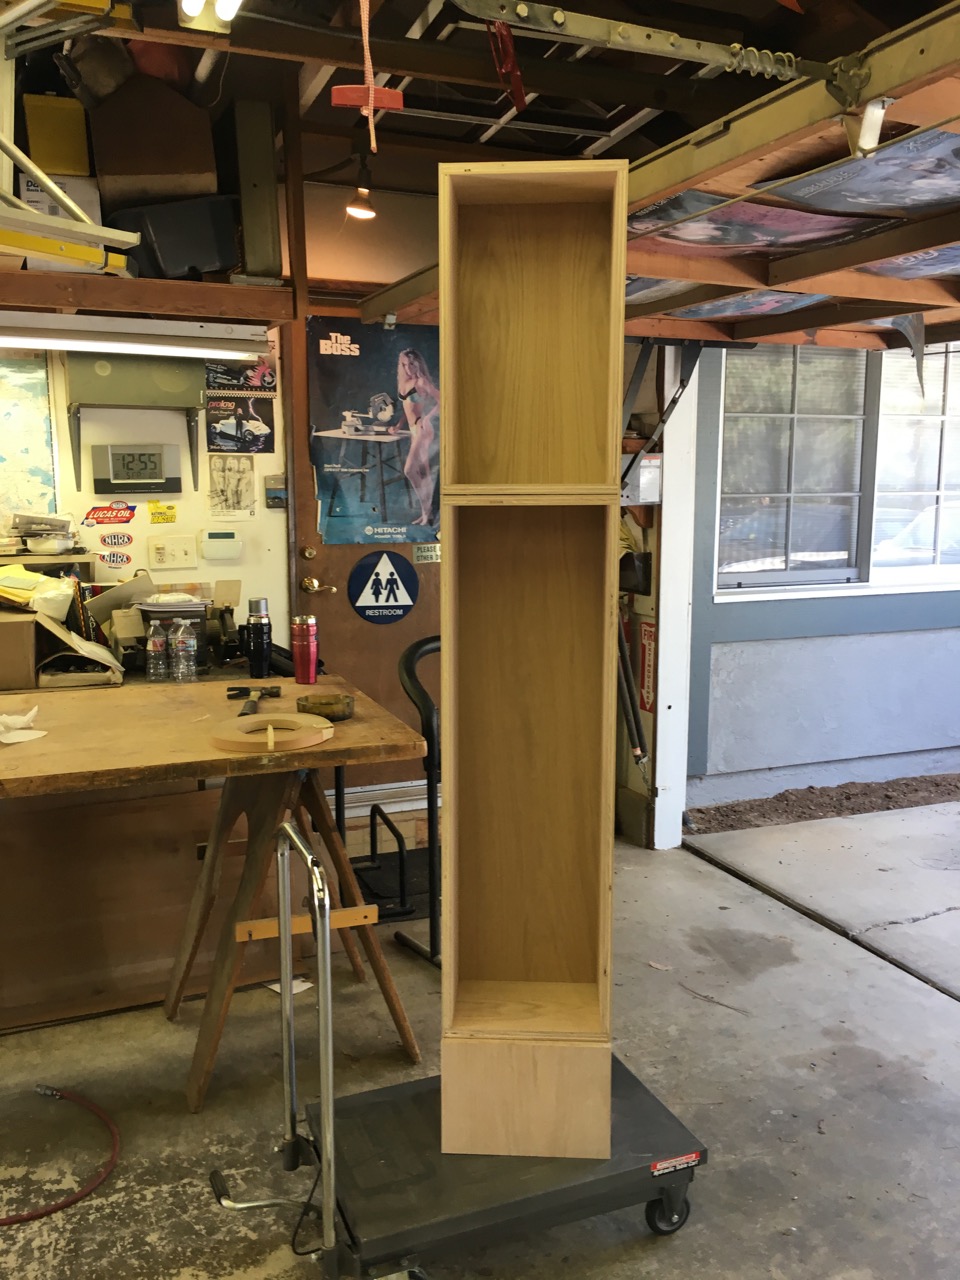
Front view!
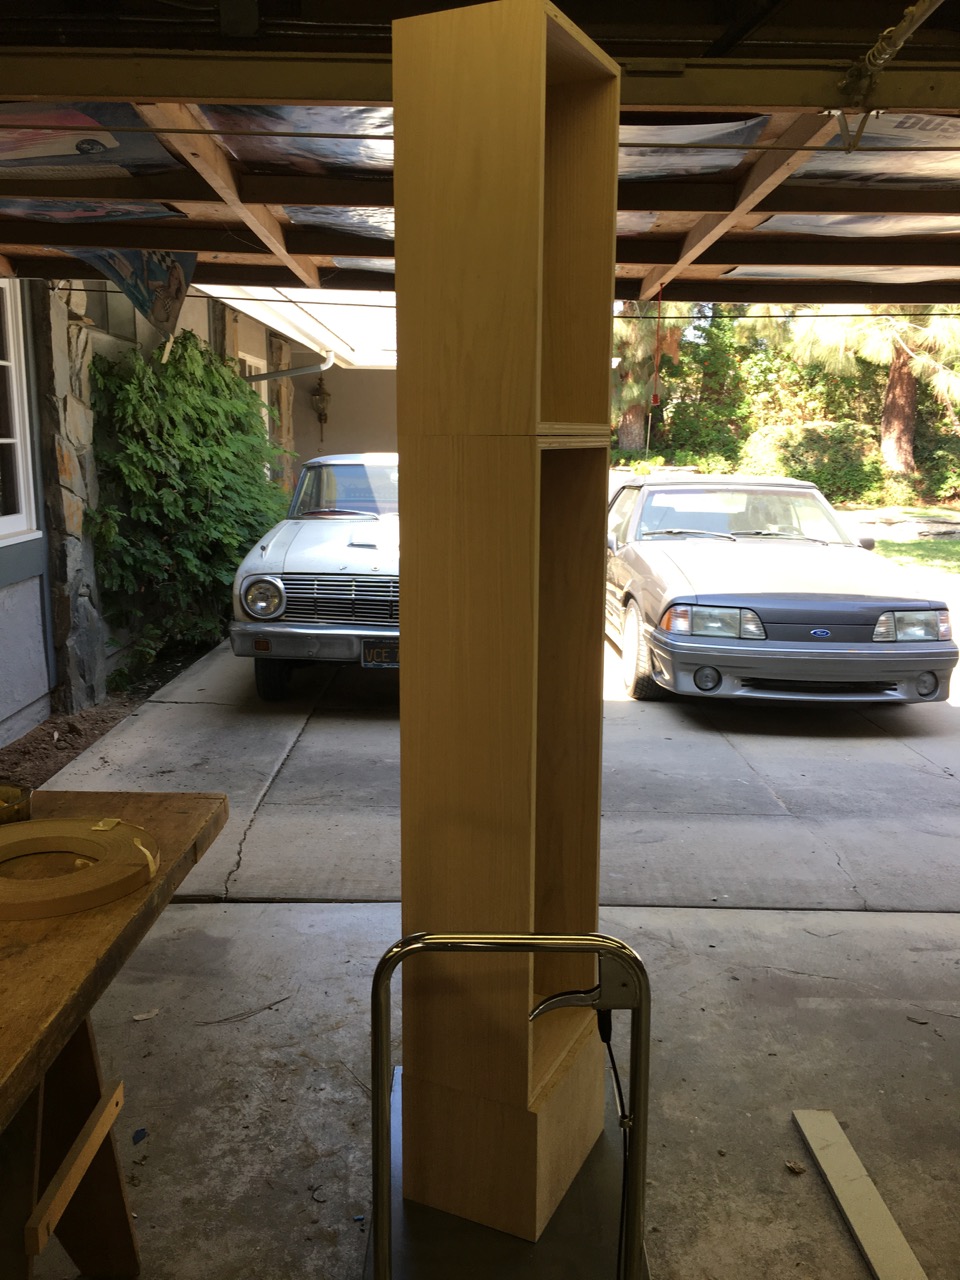
3/4 View!
And a nice close-up of the top box, where most of the guts of this thing will reside:
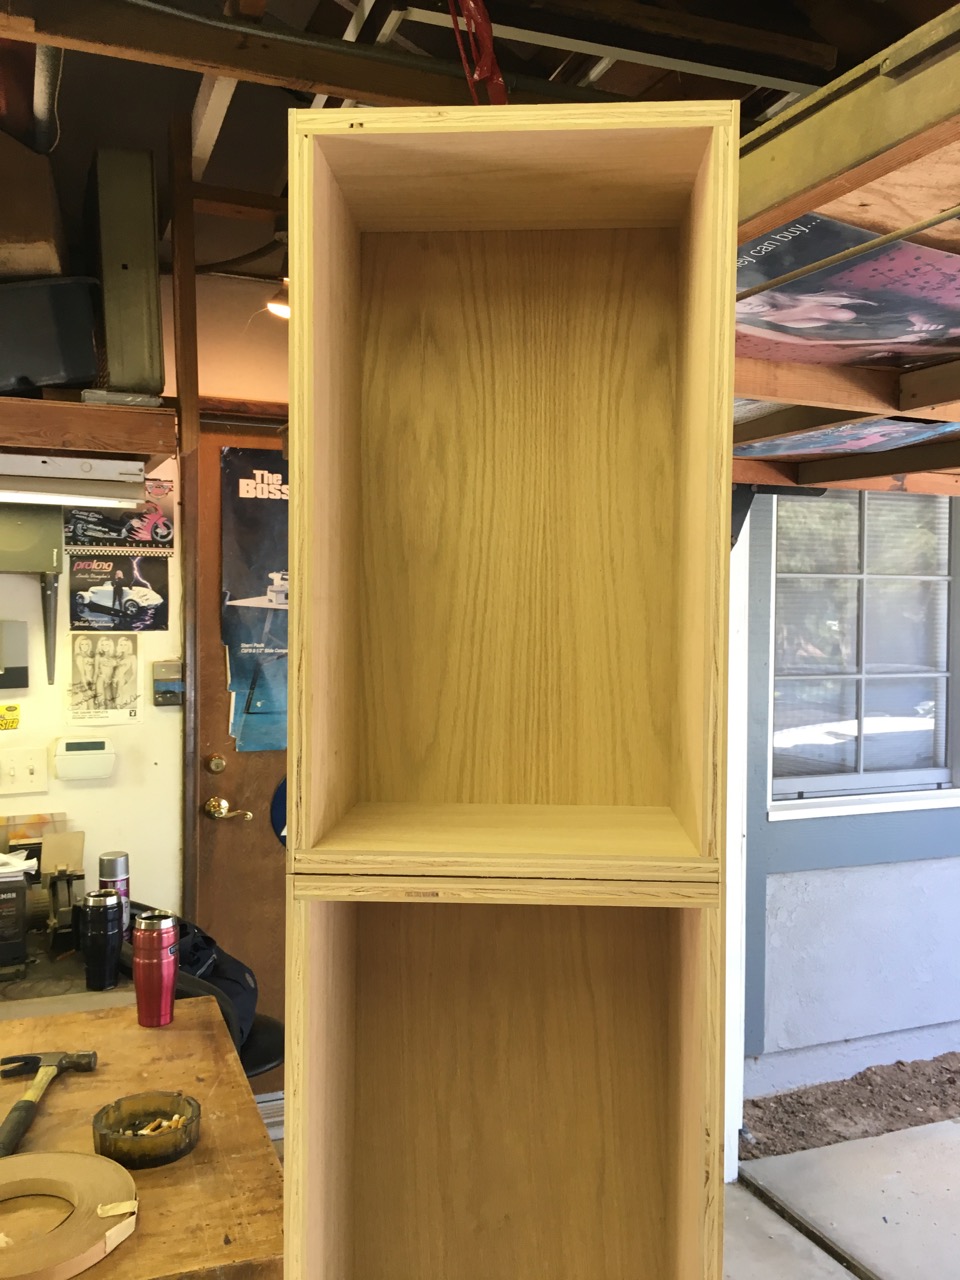
So here stands 72″ of clock body. The clawed feet will add another 6″ to the bottom, and the head should add about another 7″ to the top for a grand total 85″ tall!