Now this part was a lot of fun for me. I went through a lot of different ideas and a few impossible wants, and it took a while to get to where I ended up. The end result was well worth it. I’m really happy with how this stage took shape.
What I REALLY wanted for this thing was a glow in the dark green dial like the toy has. I wasn’t sure which materials were available to make this happen, or what I should even be asking people for. I was hoping for a glow in the dark green plastic or something of that nature… But to get the design on it… Hand paint it? print it? Stickers? I’m not even sure.
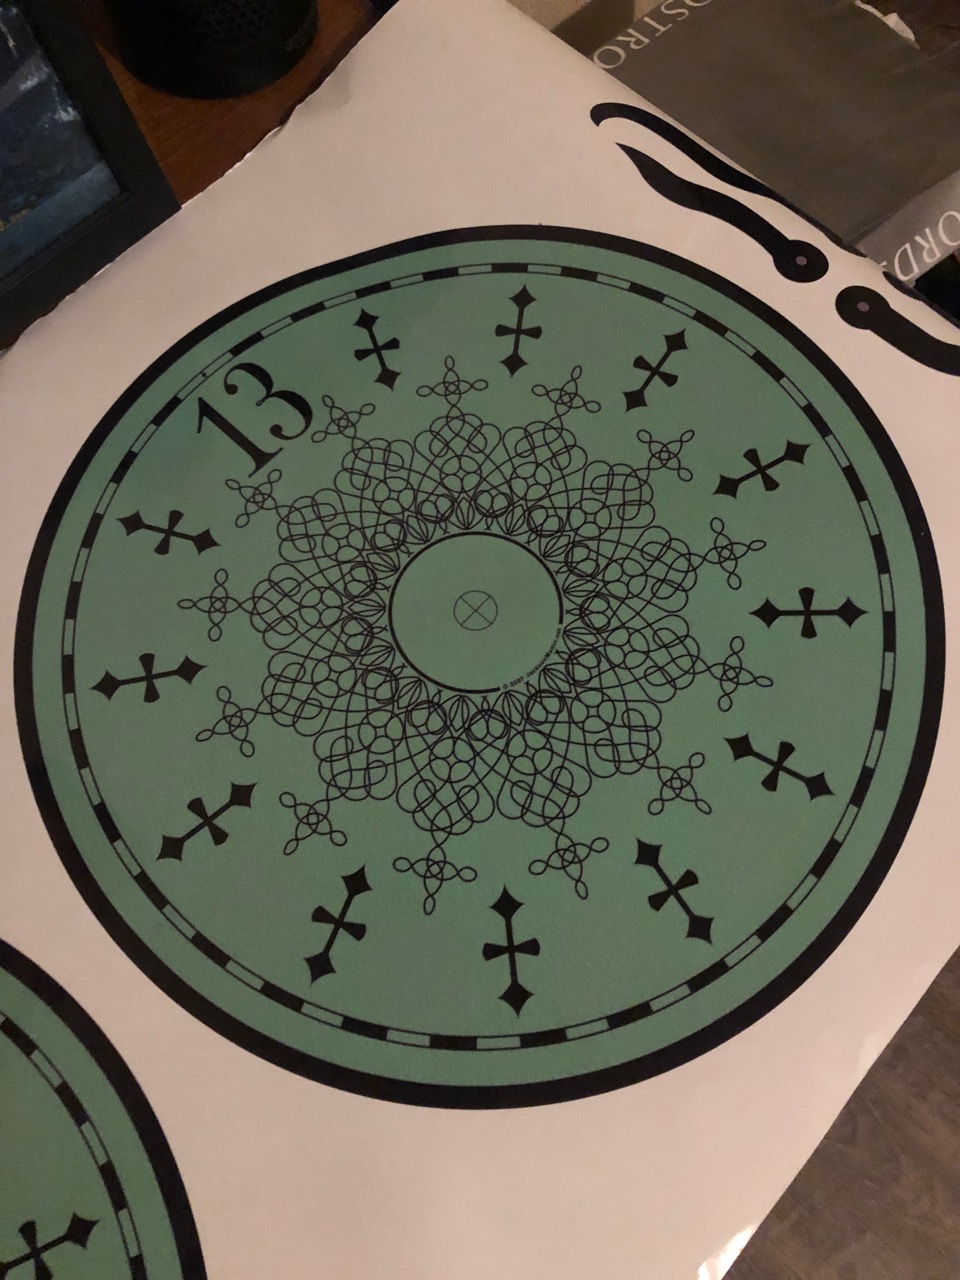
Idea 1: I’d seen an image floating around which would be perfect. A high res jpeg of the clock dial laid out perfectly for printing (from our very own lostcasket, unbeknownst to me at the time!) A friend of mine printed it out BEAUTIFULLY on vinyl for me. I wasn’t sure if I was going to just adhere that to clear vinyl and backlight it? Leave enough of a gap in front of the dial to front-light it with LEDs, or take a LOT of time to hand cut out the detailing with an x-acto and just stick the details on some green plastic that I could backlight? I’m not sure.
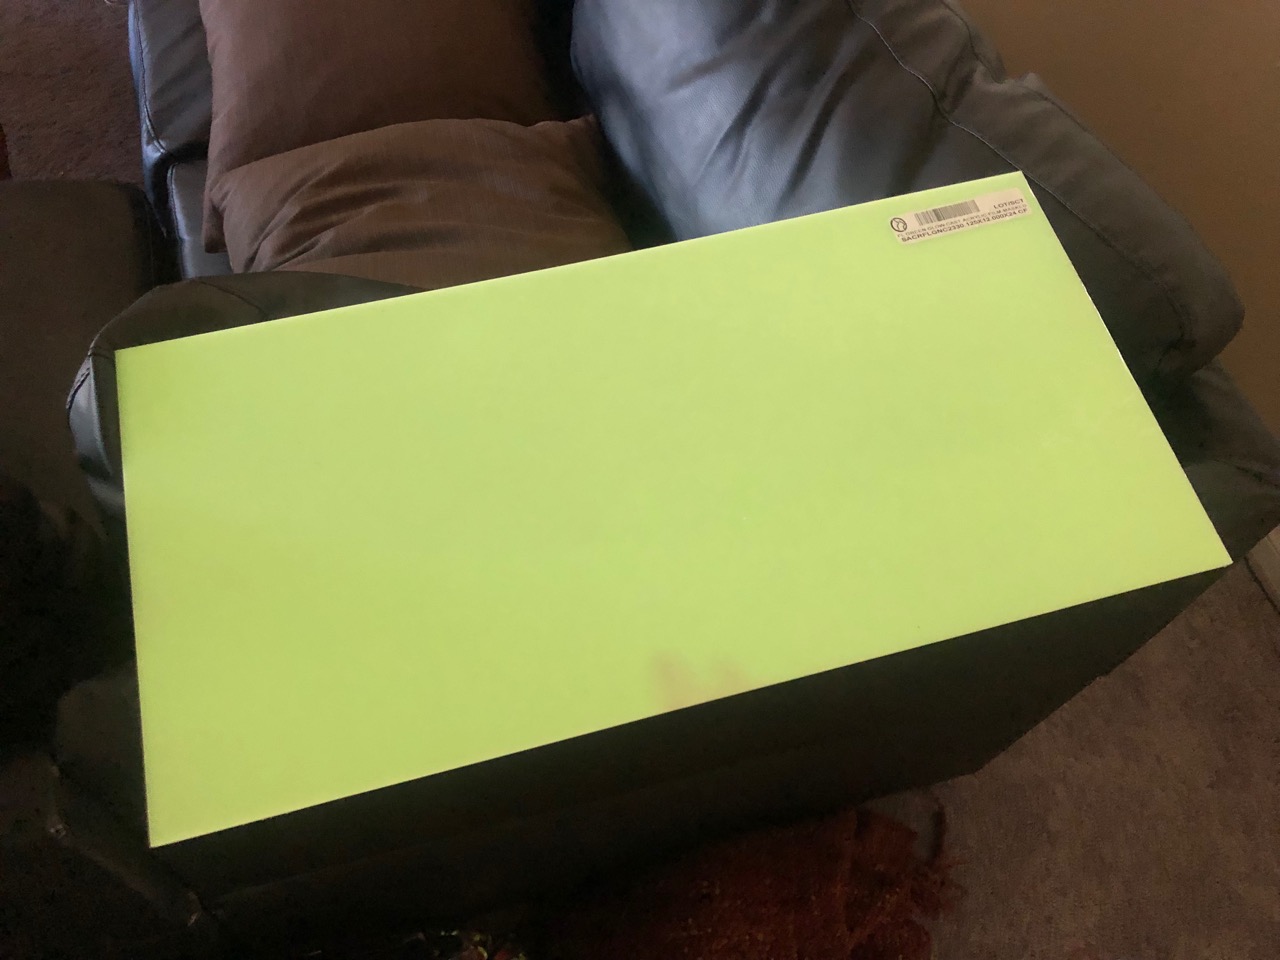
Idea 2: So I’d picked up my stickers, and while I was contemplating my possible methods of using these things I started driving door to door to every plastics/sign shop in Vegas. A couple had some green acrylic, but it wasn’t the green I wanted, usually it was clear green, one place had frosted but it was a lot greener than I’d wanted, and only sold by the sheet, WAY more than I needed and not ‘perfect’ anyway. I’d found a couple places online that had actual glow in the dark acrylic but the sticker on the webpage was way too much. Anyway, at this point I was so confused by which places I’d been to and which I hadn’t I just started calling websites that had the glow in the dark, maybe one would sell me a 12×12, even if it’s expensive it’d cost less than a sheet, and I only need one. Turns out one shop was in Santa Ana, CA, Paragon Plastics (not far from my parents’ house, link toward the bottom) and they had ACTUAL glow in the dark acrylic for 50 bucks for a 12×24” piece. Perfect! More expensive than any other color, but I’m only going to need half of this so now I’ve got two tries with the material and it’s exactly what I was looking for. I’m totally OK with this. My girlfriend just happened to be in the area that day and offered to pick it up for me, so I tell them over the phone I’ll take one 12×24” and she picks it up for me a half an hour later!
Now back to the problem of… what to do with this thing? I was still considering cutting the details out of lostcasket’s sticker, it’s the best way to get perfect lines as long as I very carefully take my time. Hand painting would be possibly a better (more personal/organic) way to do it, but no way it would look as ‘perfect’, and a stencil would be tough to make… I had gone back and forth with a couple friends who tell me they have access to a laser cutter and to just clean up the image, send it to them, and come cut it. Best. Idea. Yet.
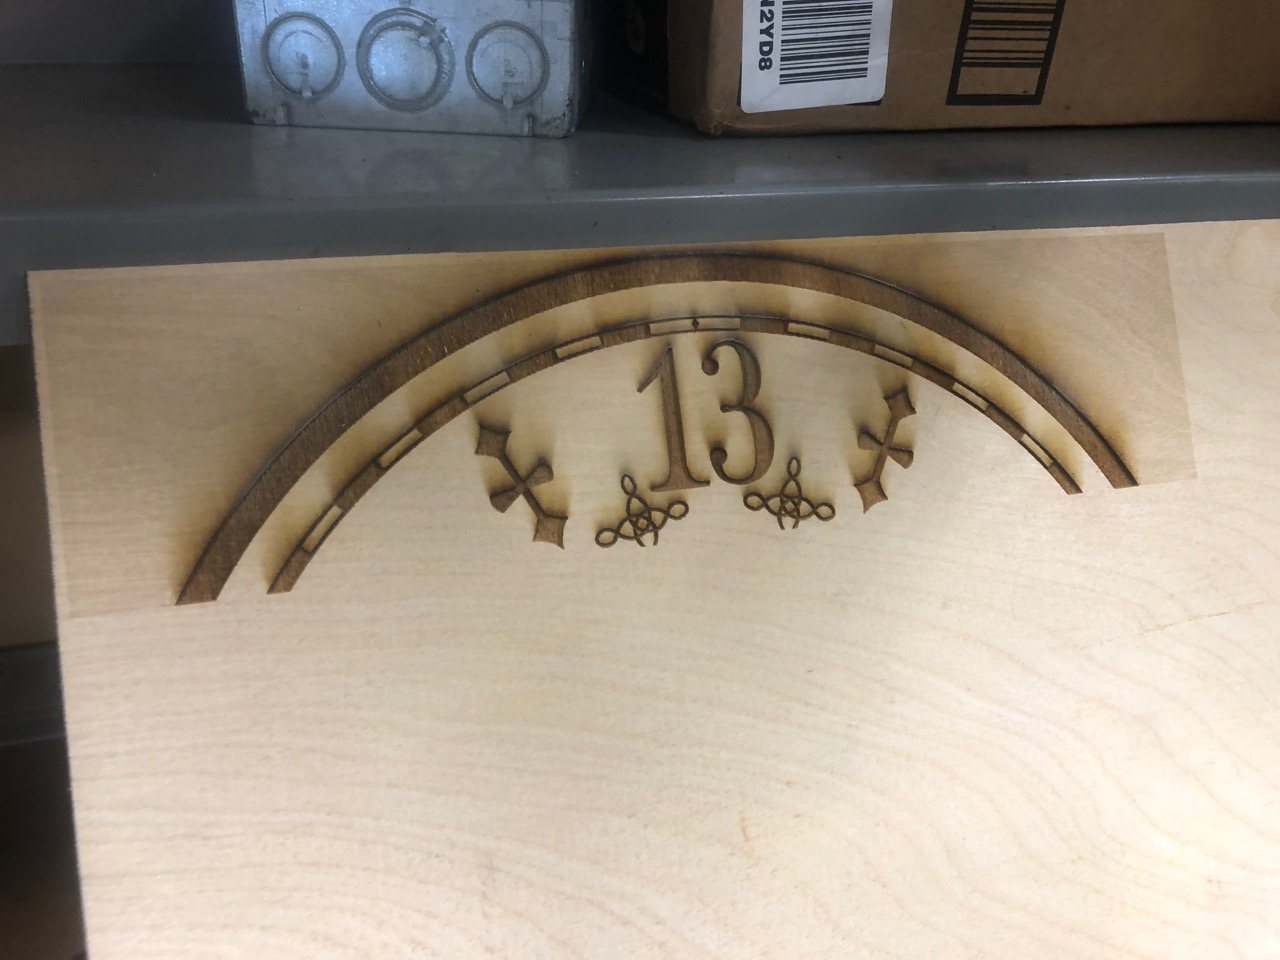
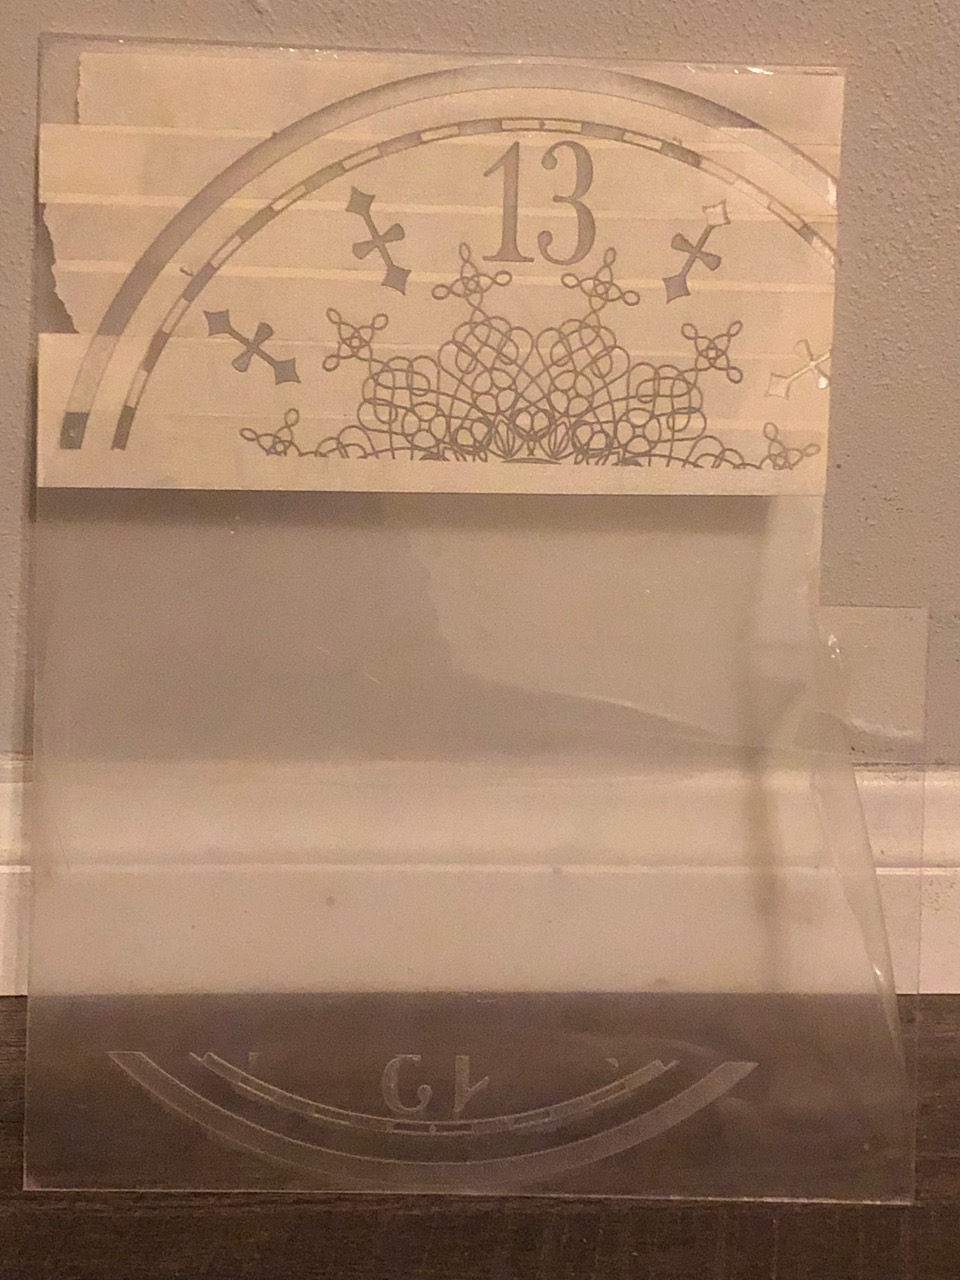
I send one of them the image and he cleans it up nicely. Unfortunately what we have is a JPEG which apparently has an effect on the way the engraver works. I mention this only because we now have vector images provided by lostcasket! (linked below!) So now we’ve got the image cleaned up as much as we can and they get to work. First they printed a test image on wood, which looked amazing (I’ll be asking them to reburn me an oak dial once I decide on a stain!) Second, they ran a test on some inexpensive clear acrylic to see what adjustments we would need to make for the plastic vs the wood so we can MAYBE get this right in one shot on the much more expensive glowing plastic.
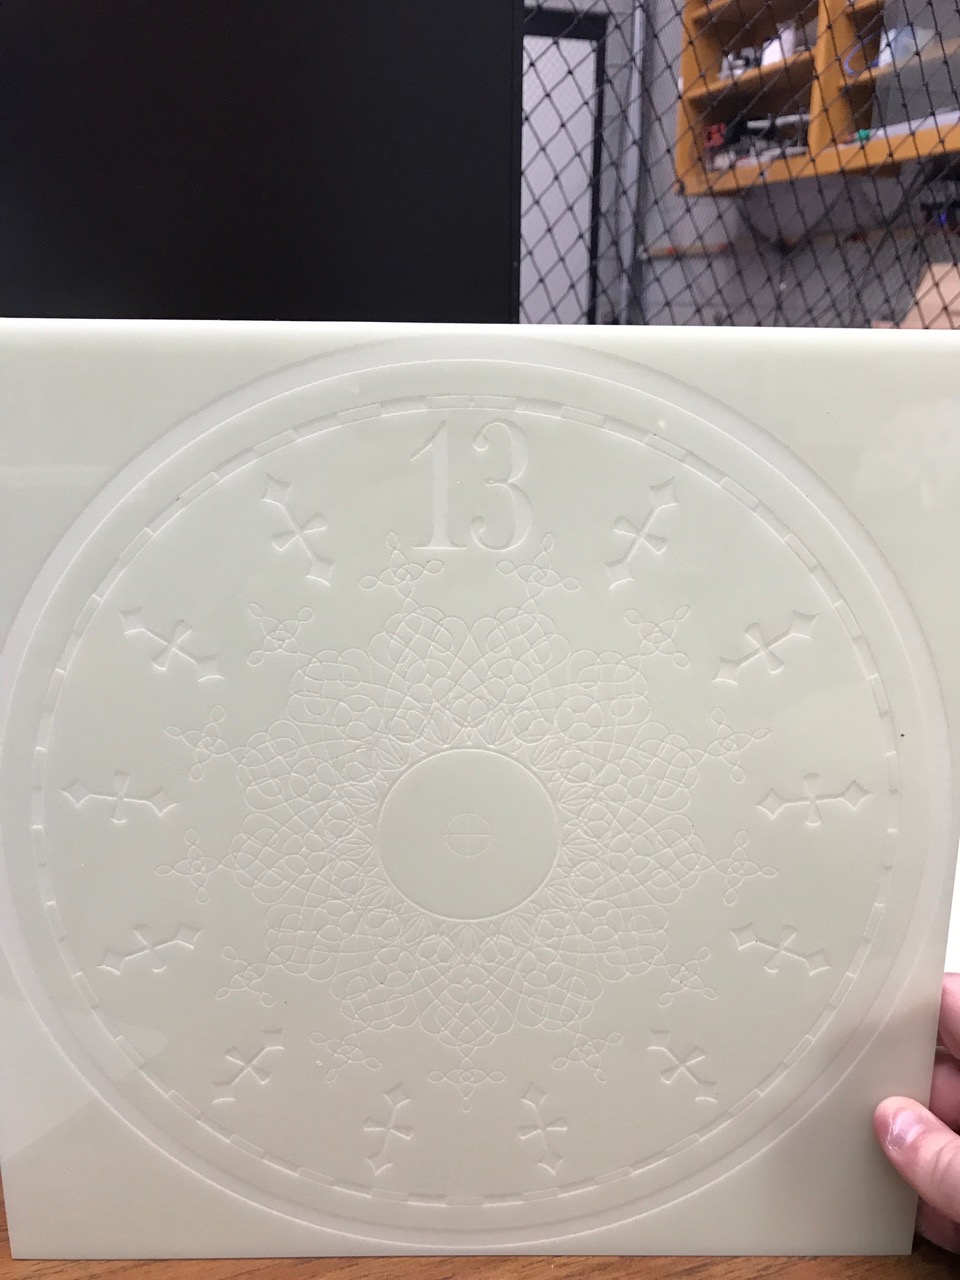
The first attempt on the glow in the dark acrylic was perfect, as good as I could have hoped for. The ONLY thing we had to look at was some ghosting outlines from the laser since we didn’t tape the plastic. Being that it was frosted plastic anyway, you couldn’t even tell. We did do a second attempt without removing the protective plastic so that we could protect the acrylic with the plastic covering it. Bad idea, it cut the image into the plastic, but melted the plastic covering the plastic, into the plastic. That didn’t work too well, and now I had to hand-pick dozens of tiny pieces of well stuck flat protective plastic from the design on the acrylic. I think it will be just as useable as the first one, but the first one is more perfect, so that’s the one we’re going to use. (lostcasket has since provided me with a link of 3 vector images to download (and distribute!) so we will eventually be re-doing this for one more dial with all of our lessons learned.) When we do another, we’ll be removing the protective plastic, covering it with painters tape, lasering it using the newly acquired vector images, spray painting it, peeling the tape and enjoying a very easy perfect print. But we’ll get into paint in the next post.
For now, pictures of plastics and other materials!
(and links!)
lostcasket’s design printed as an 11.75” sticker.
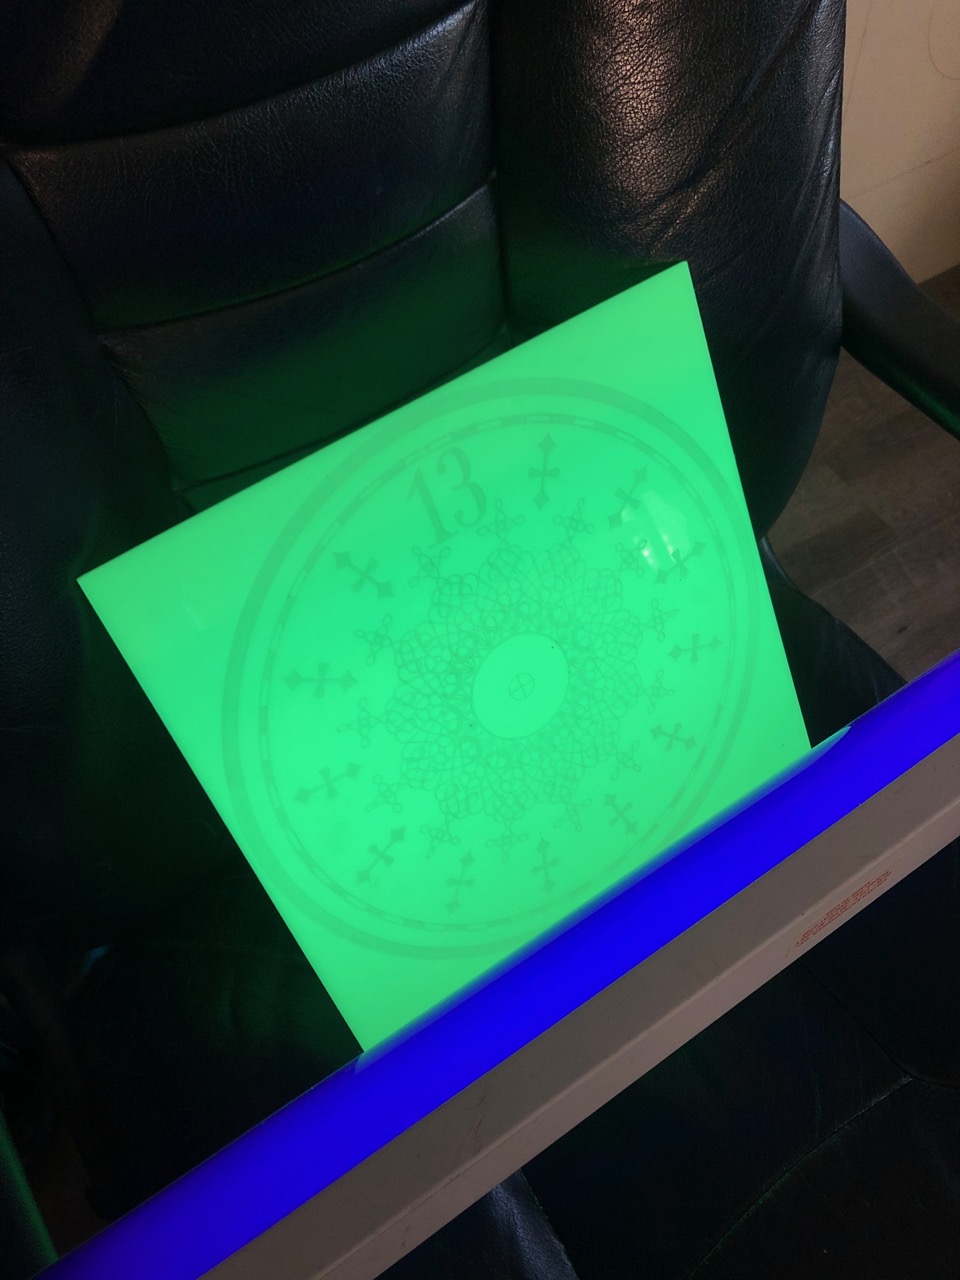
Beautiful glow in the dark acrylic from Paragon Plastics at 12x24x1/8”
(You can even see where I was holding it, the glow is really nice.)
First burn test (in wood)
Second burn test (clear acrylic)
Bottom is from the first test, later on we used the other side to see what we could accomplish with tape.
Final product in process:
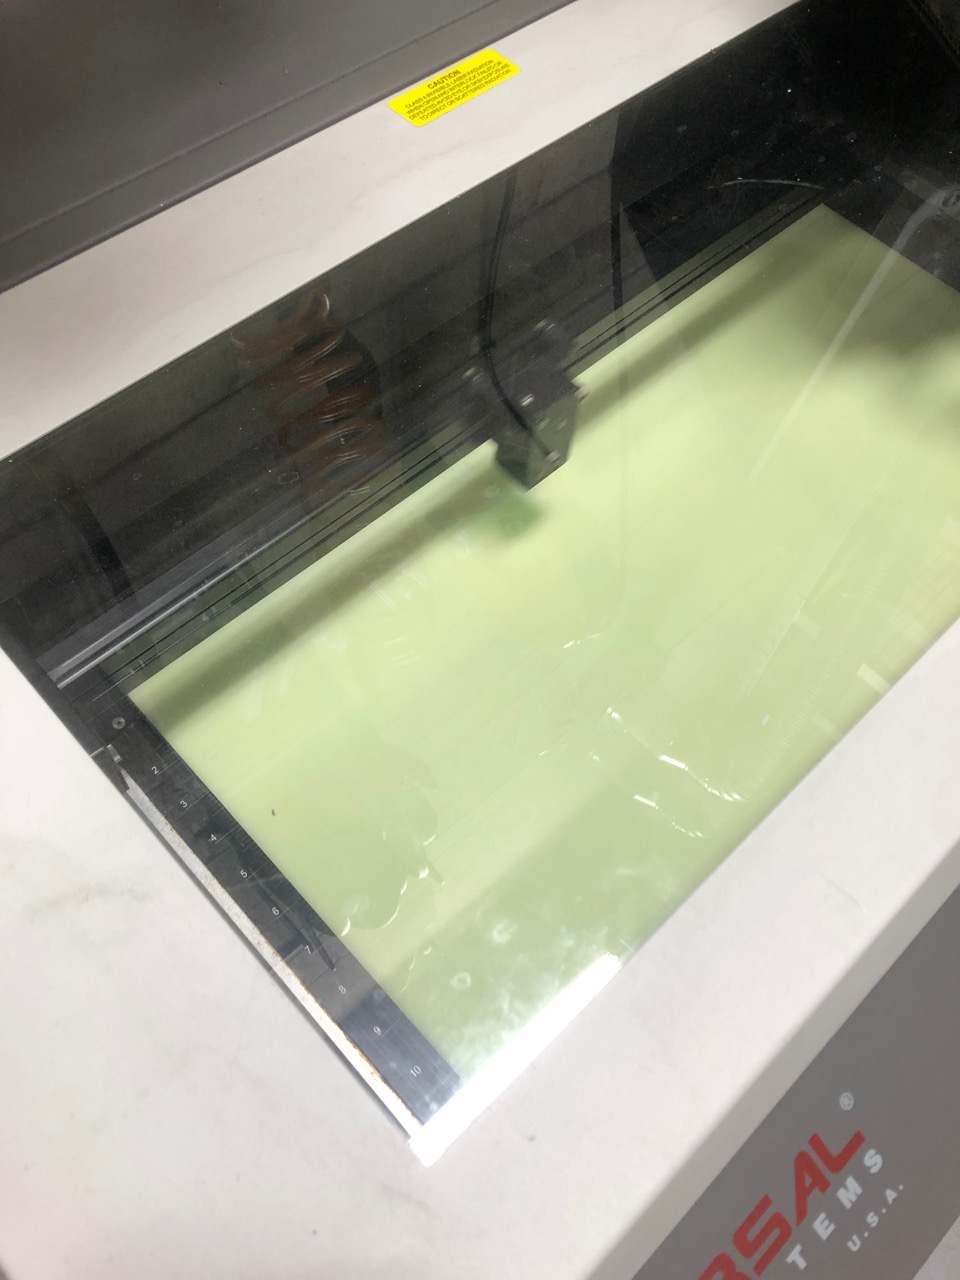
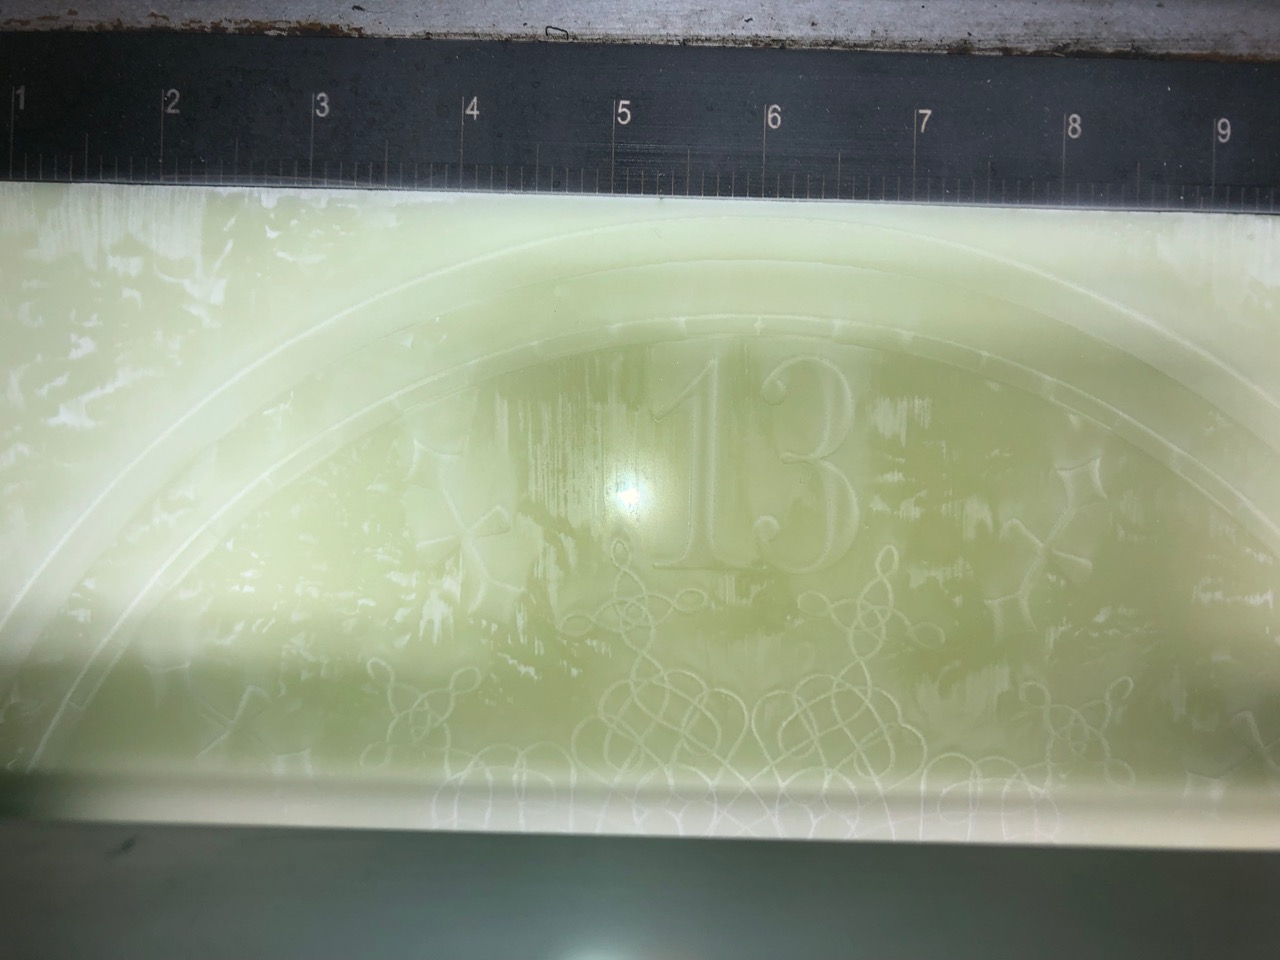
Final product is beautiful:
Especially under a blacklight!:
LINKS:
Lostcasket’s 13hr clock dials:
Dropbox – Jackson Manor 13 Hour Clock – Public – Simplify your life
Paragon Plastics Glow in the Dark Acrylic!
Phosphorescent Acrylic Sheet
-Tag says:
FL GREEN GLOW CAST ACRYLIC FILM MASKED
SACRFLGNC2330 125X12.000X24 CF