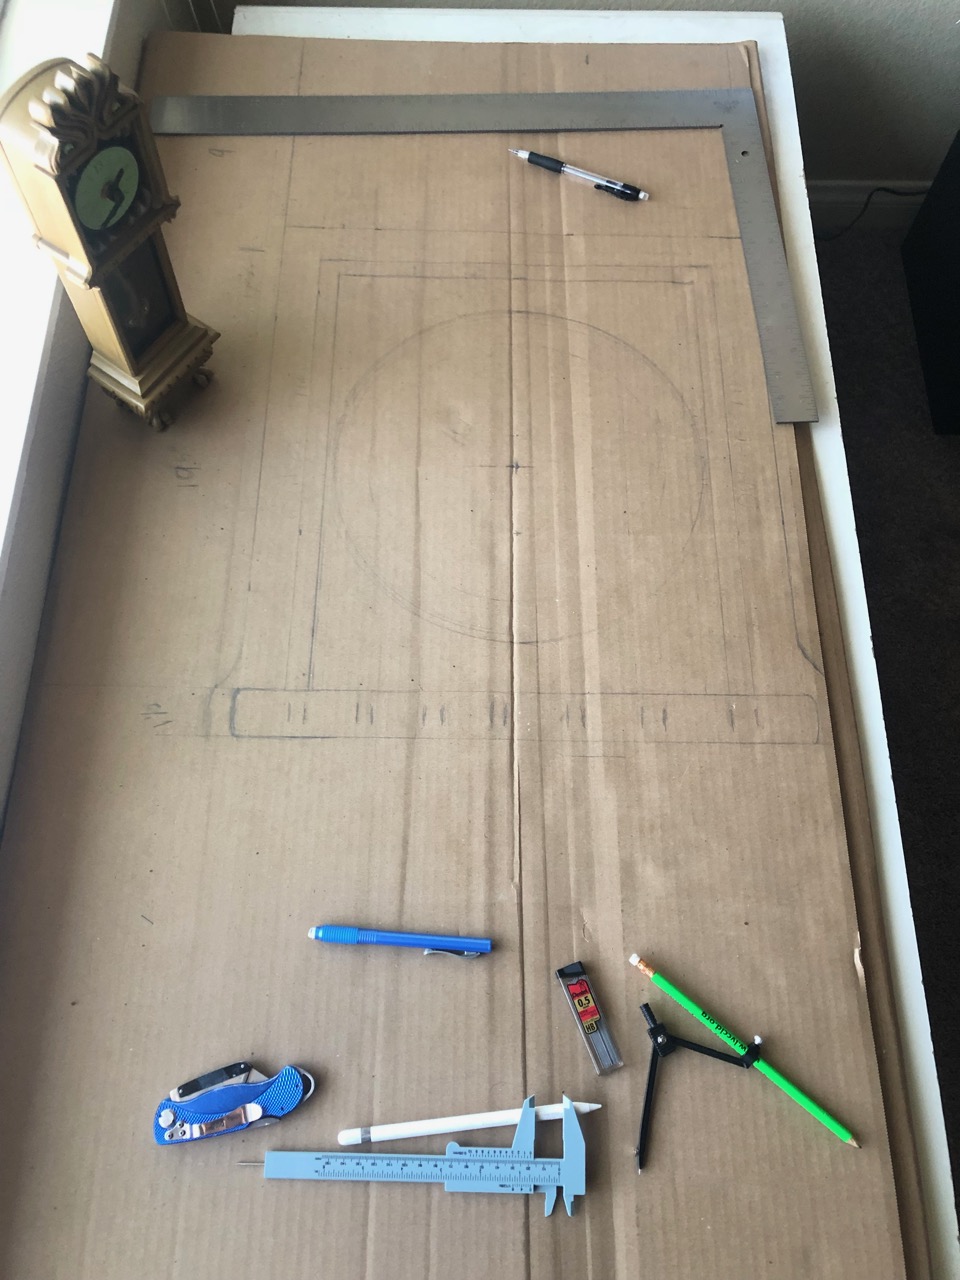
So with cardboard and measurements at hand, I set out to pre-build the most important and detailed part of the project, the face.
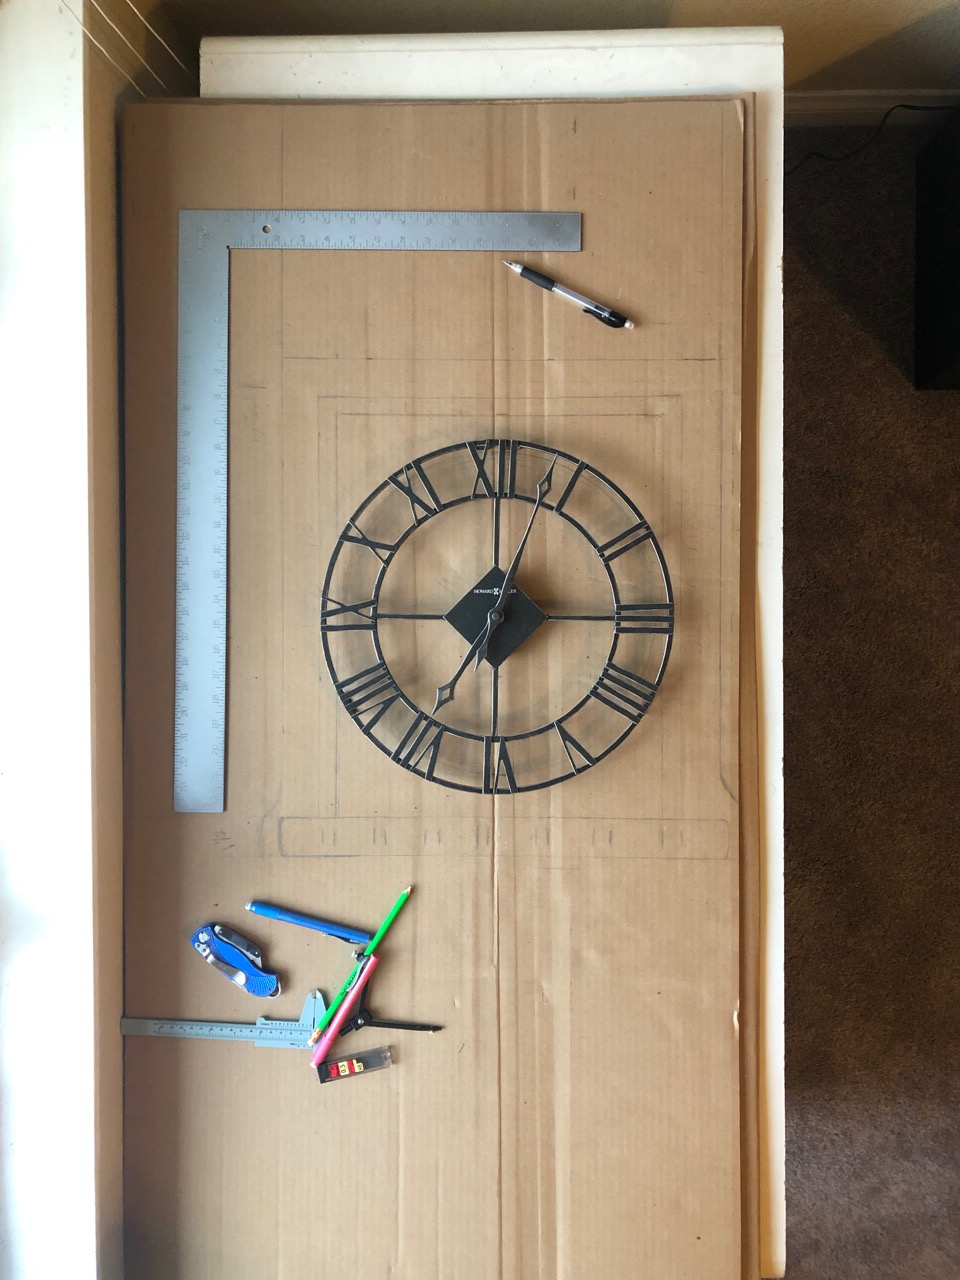
I started by drawing out a square from the outer borders of the face and the lower decorative bar. I had a 14” wall clock laying around that I was able to use to check the scale, and I was really liking the look of it (though it was a bit big compared to what I wanted, which is good.)
—
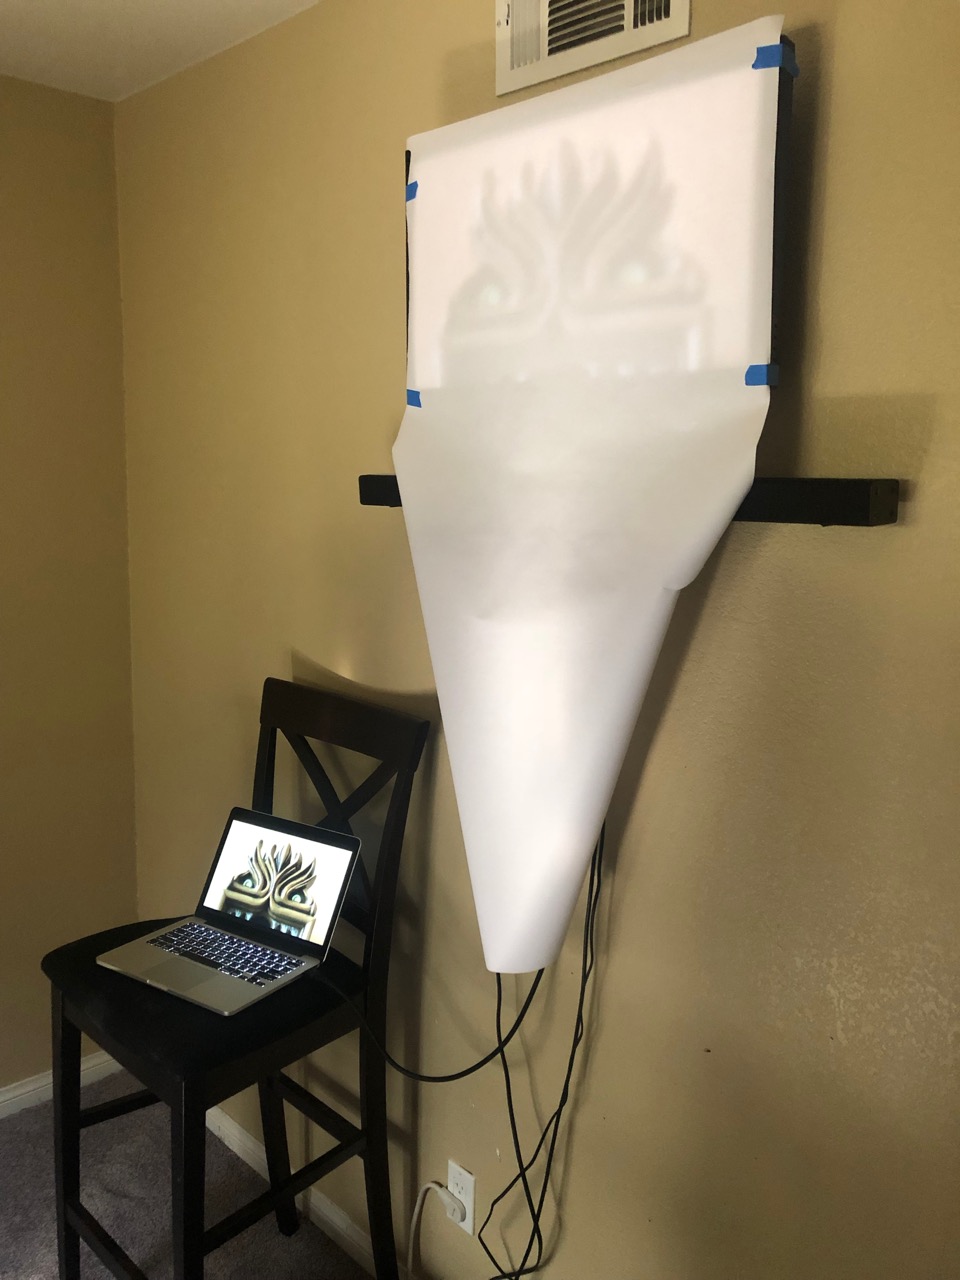
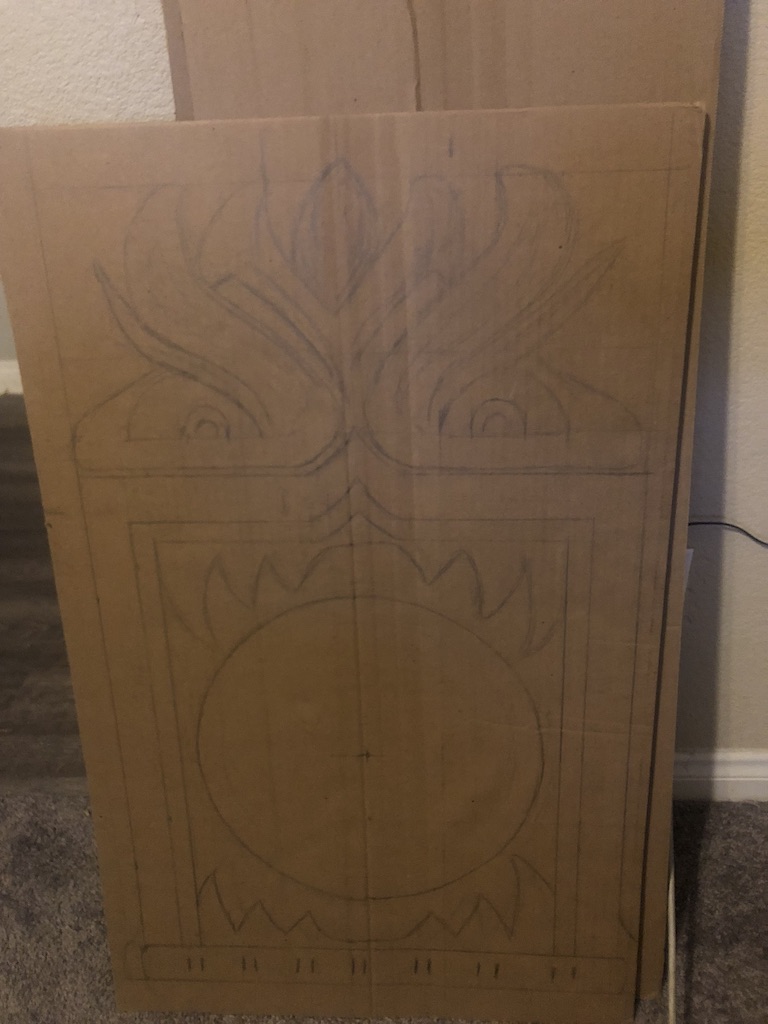
After building the main structure of the face, it was time to add the details. Not having a projector at hand I grabbed a cheap roll of white paper and draped it over a TV to trace. This actually worked really well as I was able to load the image of the clock on my laptop through HDMI and zoom in until it was full size. So I zoom in until the distance between the borders was what it should be (13″, and the border measurements lined up perfectly, so that was reassuring!) With that I was able to trace the face details in pretty easily, then later transfer those to the cardboard.
Two things that would have made this a lot better though — using my bigger (and much brighter) TV in the other room, but there was too much junk around it that I didn’t feel like moving, or option #2 just breaking down and buying a projector from Michael’s and drawing this directly and perfectly onto the cardboard (I may still do this to draw it onto the wood).

I also built the body of this thing out of cardboard for size and proportion comparisons, but those parts are a bit more boring.so I didn’t bother with pictures. With that looking pretty good, I worked with my dad on measurements for the three boxes that make up the body of the clock which he offered to put together for me (he’s the carpenter by trade, I’m the tech) while I work on sourcing and building a dial, a movement, and some actual clocky stuff.. This is where it starts to get a little more tangible!