This step, the painting, is where this clock dial really comes to life for me. Etching the plastic was a huge step, but painting it brought it to life. Though we did kinda go about this the long way (as described in the lessons learned in the previous post.) But it did come out fantastically, and I’m really happy with the result.
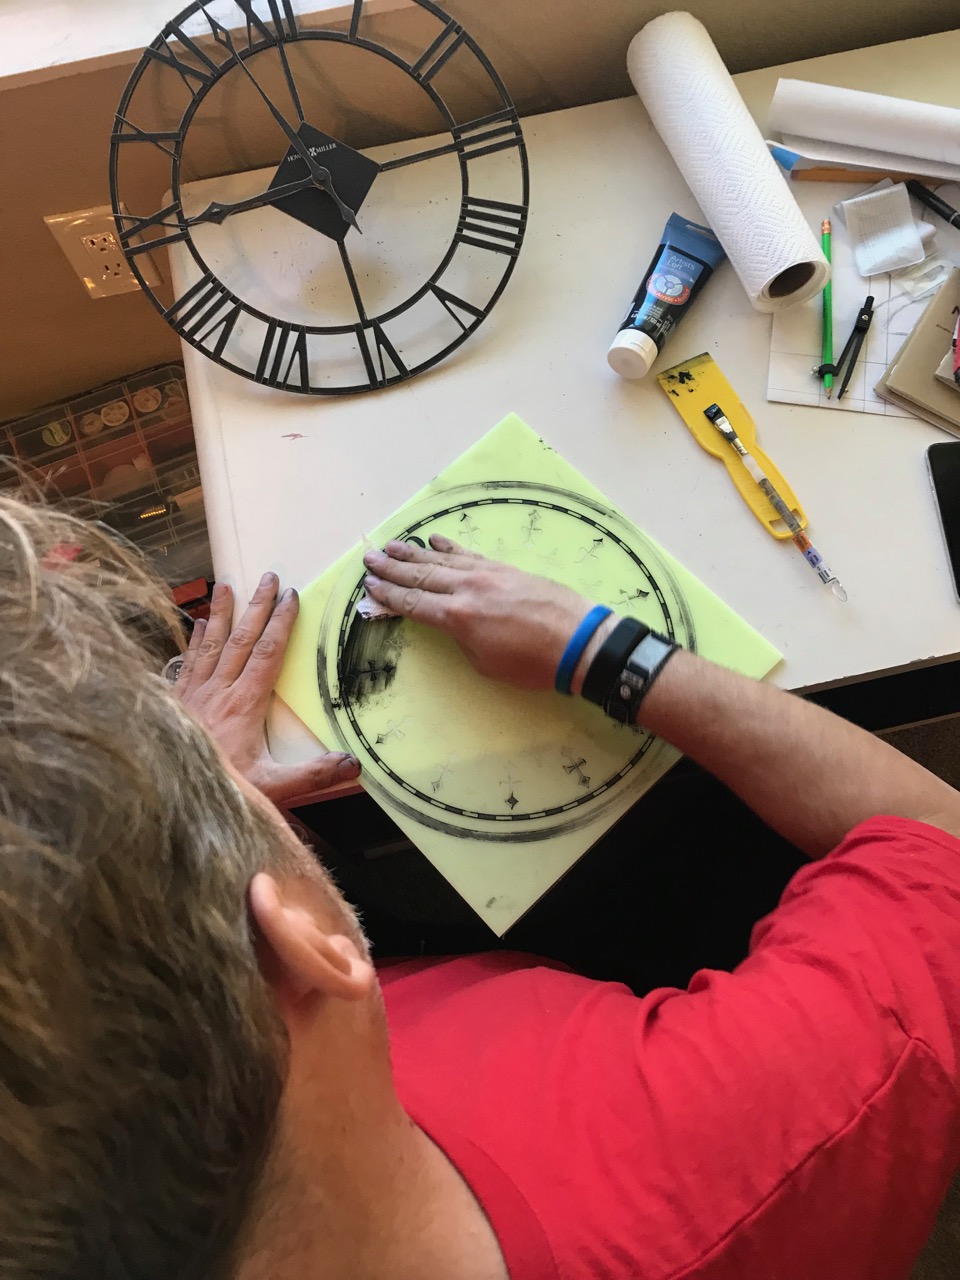
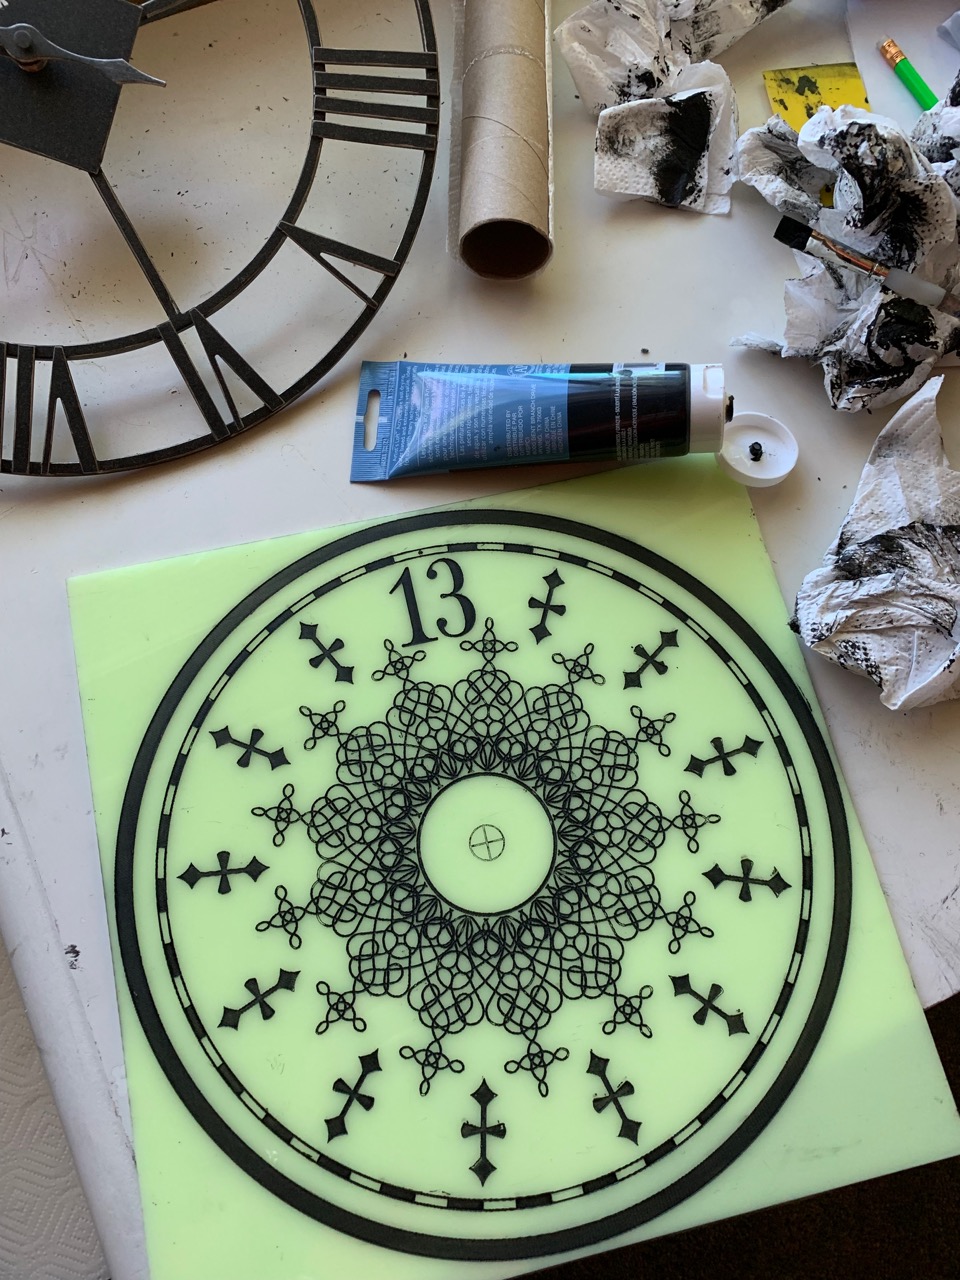
I took my etched plastic and got some black acrylic paint (I went with “Ivory black”, why can’t they just sell “black”?) Basically the technique I used in accomplishing this was the same as you would use for grout. I just squeezed a bunch of paint into the general area of the lines I was trying to fill, then wiped it with a FLAT paper towel. The paint would wipe INTO the cracks and fill ‘em up, while off of the flat surface and clean it up, all at the same time! I’ve noticed that the paper towel needs to remain flat in order to smear the paint into the cracks properly, otherwise it just picks the paint up instead. I thought of using a small squeegee or grout squeegee or something, but this worked out perfectly.
Painting and wiping away…
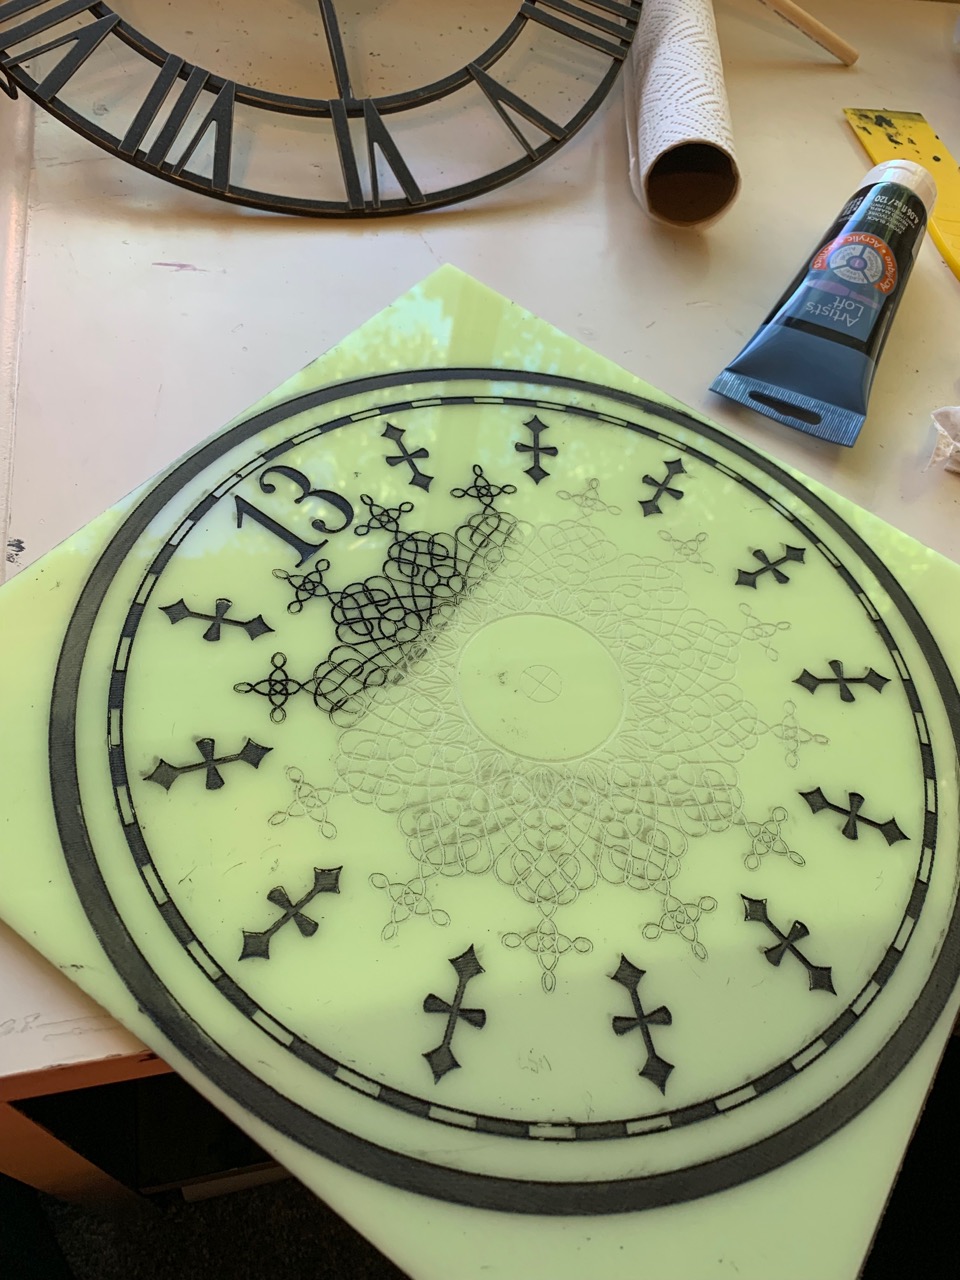
Progress check after starting the fine details:
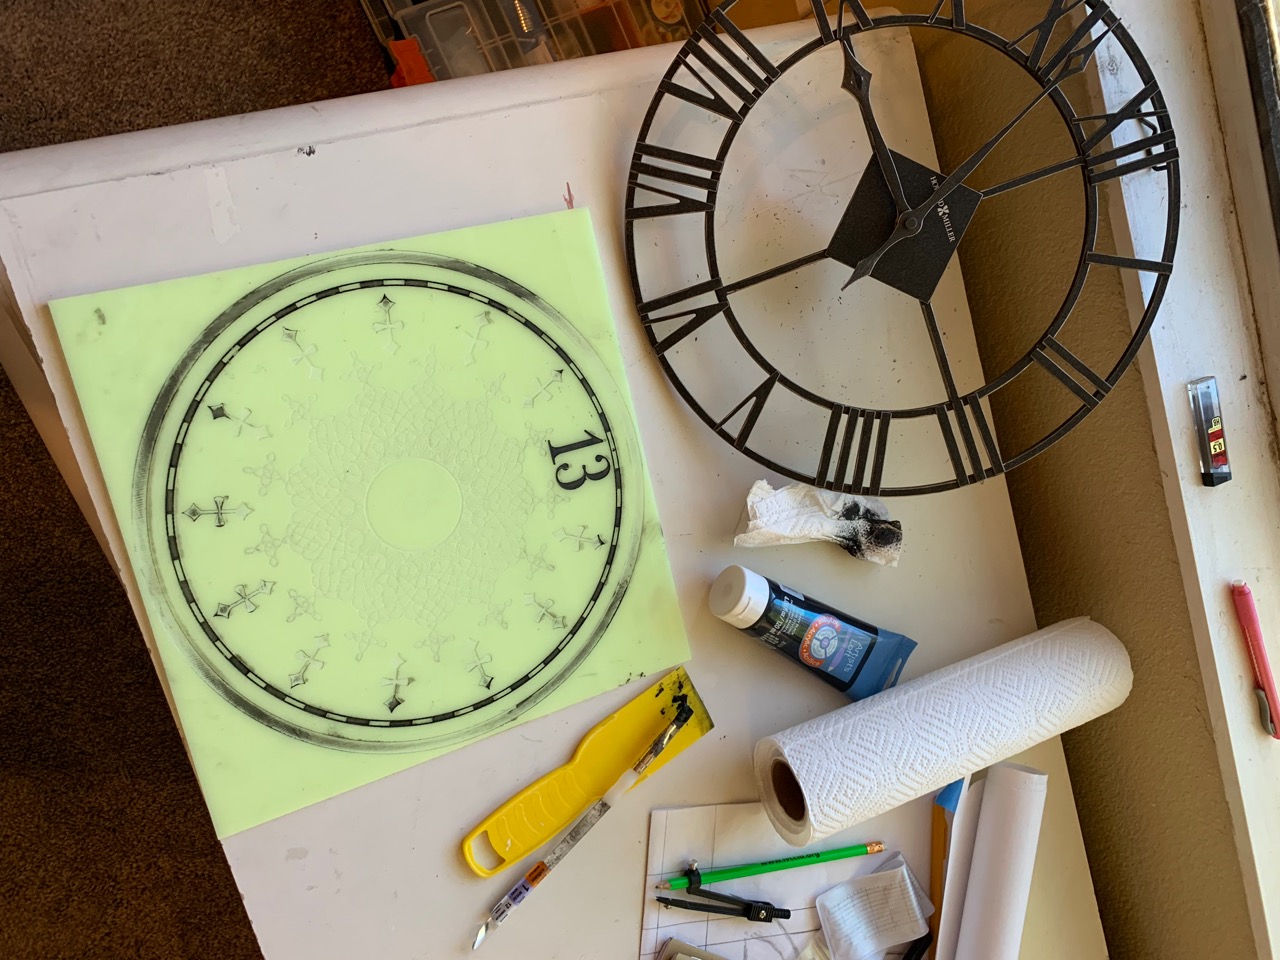
Final result after finishing the painting process:
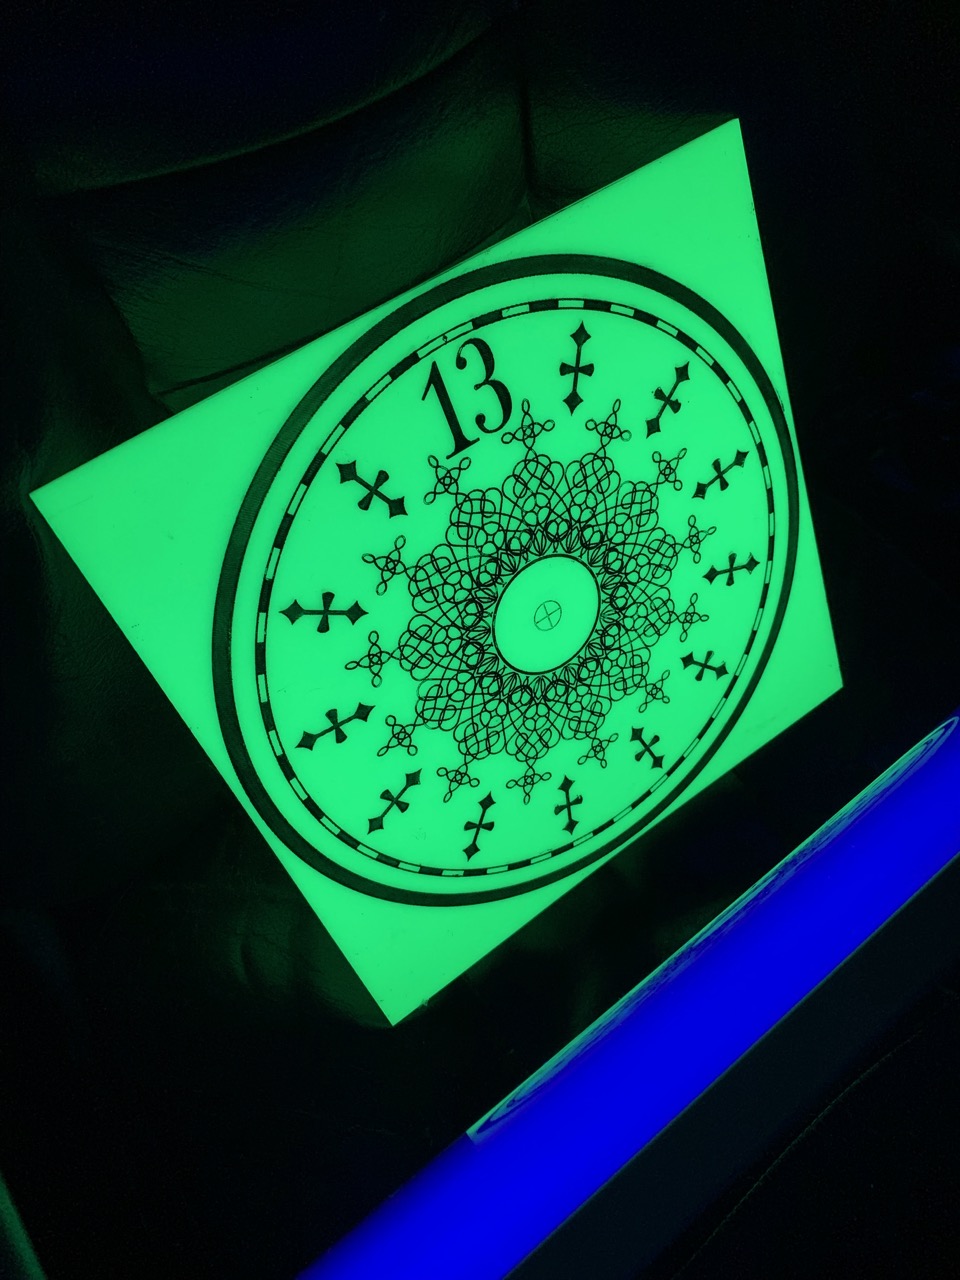
Now I was anxious to hit this thing with the black light and see how it looks now that it has some actual detail to it:
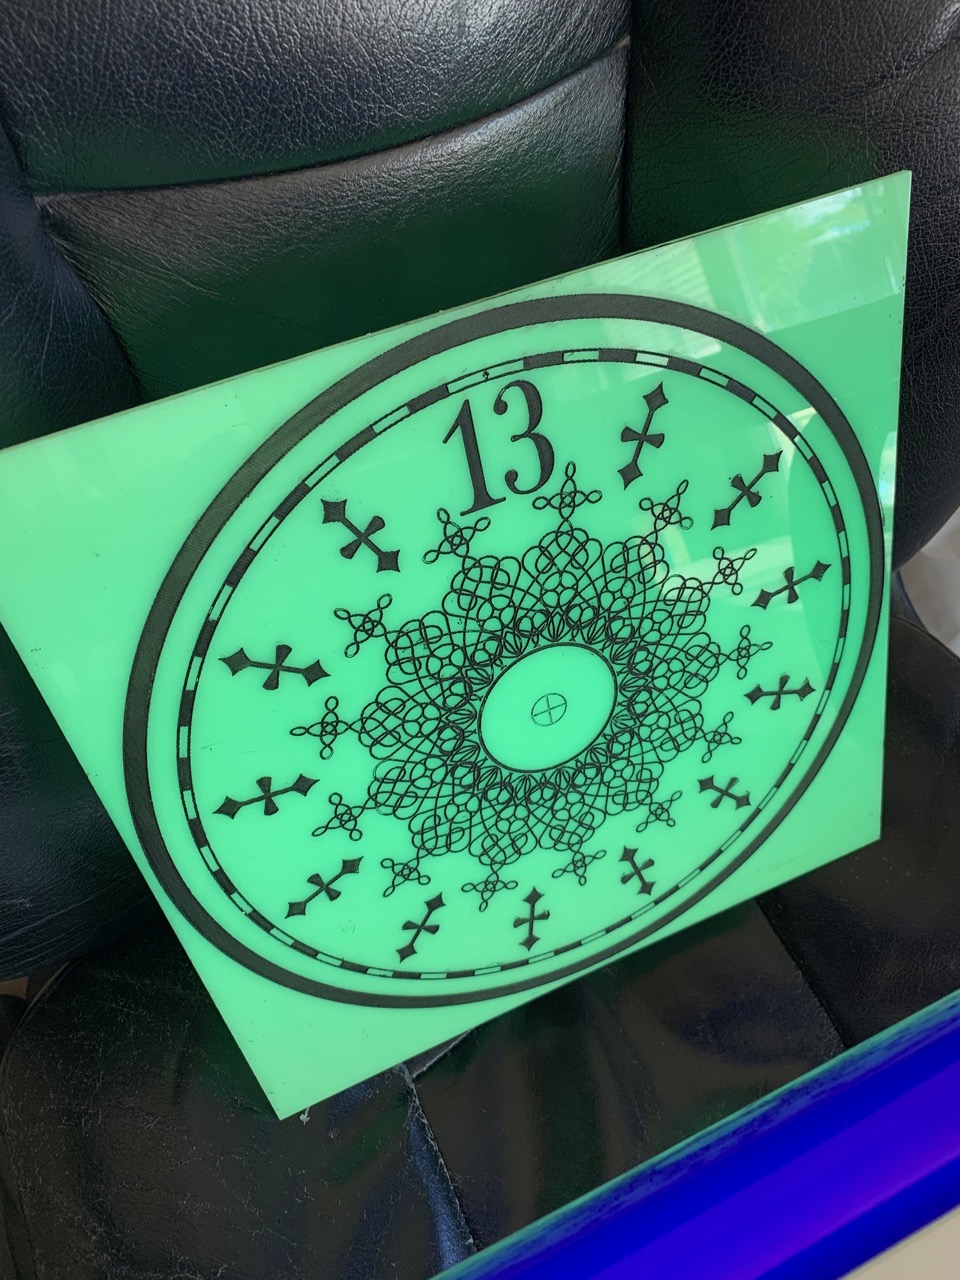
And as well as that went, I was really looking forward to the night: